End the Arms Dealer Easy Walk Through Glitch
Similar to the Harbinger mission for Hawkmoon, Destiny 2's Dead Man's Tale Exotic has a unique mission tied to it. Named Presage, this mission takes Guardians through an abandoned Cabal ship near the Tangled Shore. Players can complete Presage once a week for a randomly-rolled Dead Man's Tale.
This mission can be rather confusing on your first playthrough, especially if you're attempting this solo. That is where this guide comes in. We will go over every puzzle, hidden collectible, and how each combat encounter works. We encourage you to go in blind on your first playthrough, as this mission has a fantastic atmosphere, but you can always follow this guide if you get lost or stuck. Here is a complete guide to the Presage mission in Destiny 2.
Updated September 3rd, 2021 by Charles Burgar: Bungie finally added Scorn Champions to Destiny 2 in Season of the Lost. Strangely, these Champions are absent in Presage's Master variant, yet the game's modifiers imply that Champions are present. Beyond clarifying the Champion situation with Master Presage, we've given this article an organization update to make it far easier to follow. A table of contents, jump links, and image galleries have been added to make this guide as easy to follow as possible.
Table Of Contents
- How To Start This Mission
- Master Version Differences
- A Quick Note About Collectibles
- Entering The Glykon
- Collectibles: Glykon Entrance
- Popping Spores
- Electric Room
- Collectibles: Electric Room
- Garbage Compactor
- Scorn Combat Encounters
- Collectibles: Hangar
- Maze
- Collectibles: Maze
- Platforming Section
- Collectibles: Platforming Section
- Locus Of Communion Boss Fight
- Collectibles: After Boss Fight
How To Start This Mission
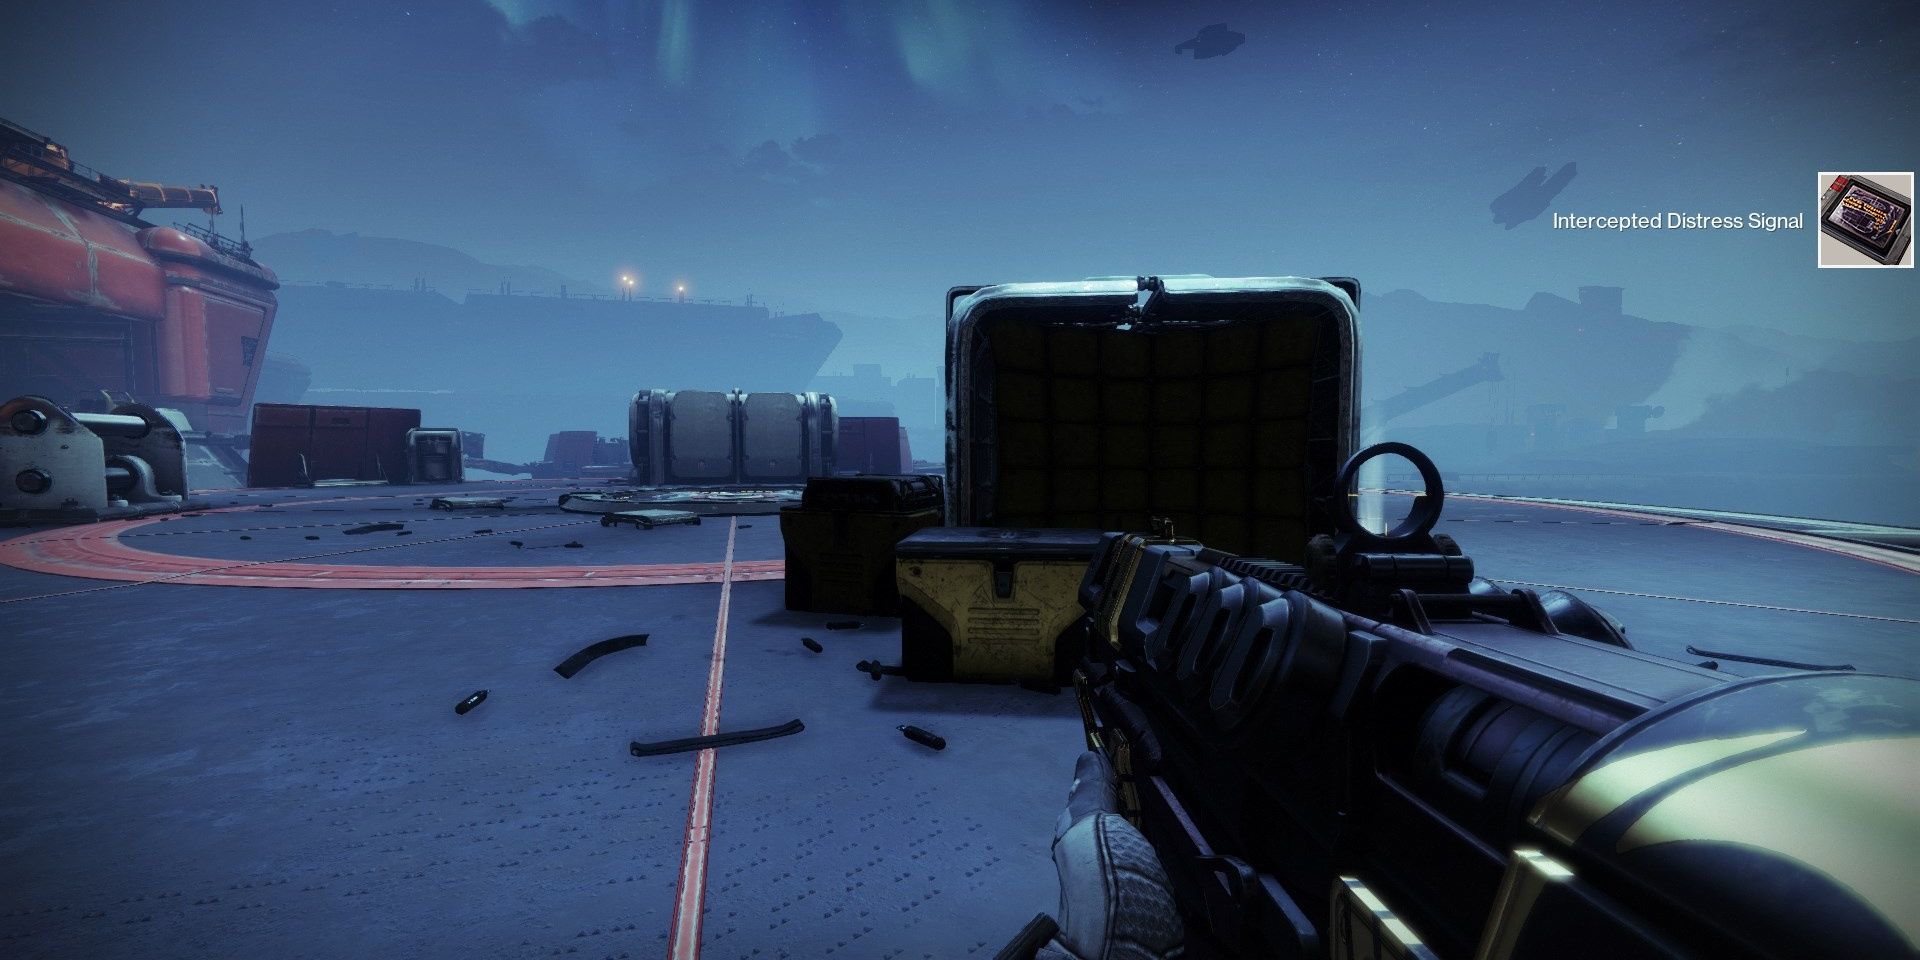
To unlock the Presage mission, you must first obtain a distress signal from The Arms Dealer strike. You can obtain this from either the strike or Nightfall variant. Load into the mission, defeat the first group of Cabal, then run into the door behind them. Do not progress through the strike.
At the end of this corridor will be a tanky Cabal miniboss surrounded by turrets. Kill the Cabal in this area, then run towards the container at the furthest platform. Grab the distress signal inside the container, then speak to Zavala in the Tower. This will unlock the Presage mission in the Tangled Shore. You can start it from your Director.
Return to Table of Contents
Master Version Differences

Presage has a Master variant that Guardians can complete, granting the Exotic Catalyst for Dead Man's Tale upon completion. Beware that this mission is timed, tasking your fireteam with completing the entire mission, start to finish, in 25 minutes. If you exceed 25 minutes, you are immediately sent back to orbit and must restart the mission.
Here are the modifiers tied to Master difficulty:
Presage Master Modifiers
| Power Level | 1,320 Power |
| Champions: Mob | This mode contains additional Champions. |
| Equipment Locked | You will not be able to change your equipment after this activity starts. |
| Match Game | Enemy Shields are highly resistant to all unmatched elemental damage. |
| Chaff | Radar is disabled. |
| Shields | Arc, Solar, and Void |
| Time Limit | 25 minutes |
Despite the modifiers stating otherwise, there are no Champions in the Master variant. Season of the Lost did add Unstoppable Abominations and Overload Chieftains to Legendary Lost Sectors, yet none of these enemies were added to Presage's Master variant. You won't need any Anti-Champion mods to beat the Scorn here.
Unlike Zero Hour, the Master variant does not change any mechanics or the Glykon's layout. You'll go through the same mazes, same enemy groups, and fight the same boss with the same mechanics. With that said, Power clamping isn't present in the Master variant. Normal Presage always sets your Power level to 1,240—ten under the Scorn you face. Master doesn't have this negative delta present, technically making enemies easier to kill if you're 1,320 Power or higher.
For solo players, this variant is nothing short of frustrating. Presage's lengthy platforming sections leave little room for error, making the combat sections a rush against the time limit. Add-clear loadouts are great if you're playing in a team. But solo players will need items that can deal with all three shield types and simultaneously stay alive. Arbalest, Borealis, and Sleeper Simulant are a few good choices for this variant. Use subclasses and Exotics that improve your survivability and give utility options. Stasis is especially useful for solo flawless runs, allowing you to freeze Screebs and other troublesome foes.
Return to Table of Contents
A Quick Note About Collectibles
Presage has 15 collectibles that Guardians can scan. Unlike past Exotic missions, you must find all of a given set's collectibles before you scan the next batch of collectibles on the following week; they are tied to account progress instead of a weekly rotation.
For example, set one has five collectibles you can find. If you only scan four, the following week will only let you scan the five collectibles from last week. Those interested in obtaining the Shell of Gilgamesh and associated Triumphs should find every collectible in a given set.
This guide will cover where to find every scannable item. But if you are only interested in where Presage's collectibles are, give our All the Scattered Pieces guide a look.
Datapads
This mission also has 12 datapads that can be interacted with, opening a secret room that grants a Legendary Engram from a chest. These datapads must be activated in a certain order. Every week unlocks one new datapad for players to interact with, meaning it'll take months for all 12 datapads to become usable.
The number of Captain's Log lore entries you have determines how many datapads you can open. For example, if you earned four Captain's Log entries by playing Presage on four separate weeks but haven't interacted with any datapads, you can open the first four datapads at any time. However, if you only cleared Presage once, you'll only have one Captain Log—allowing you to open the first datapad that week. It's a rather convoluted way of implementing a catchup mechanic, but that's how it works.
If you want to know the locations of all 12 datapads, check out our Presage datapad guide.
Without further ado, let's get to the Presage guide itself.
Return to Table of Contents
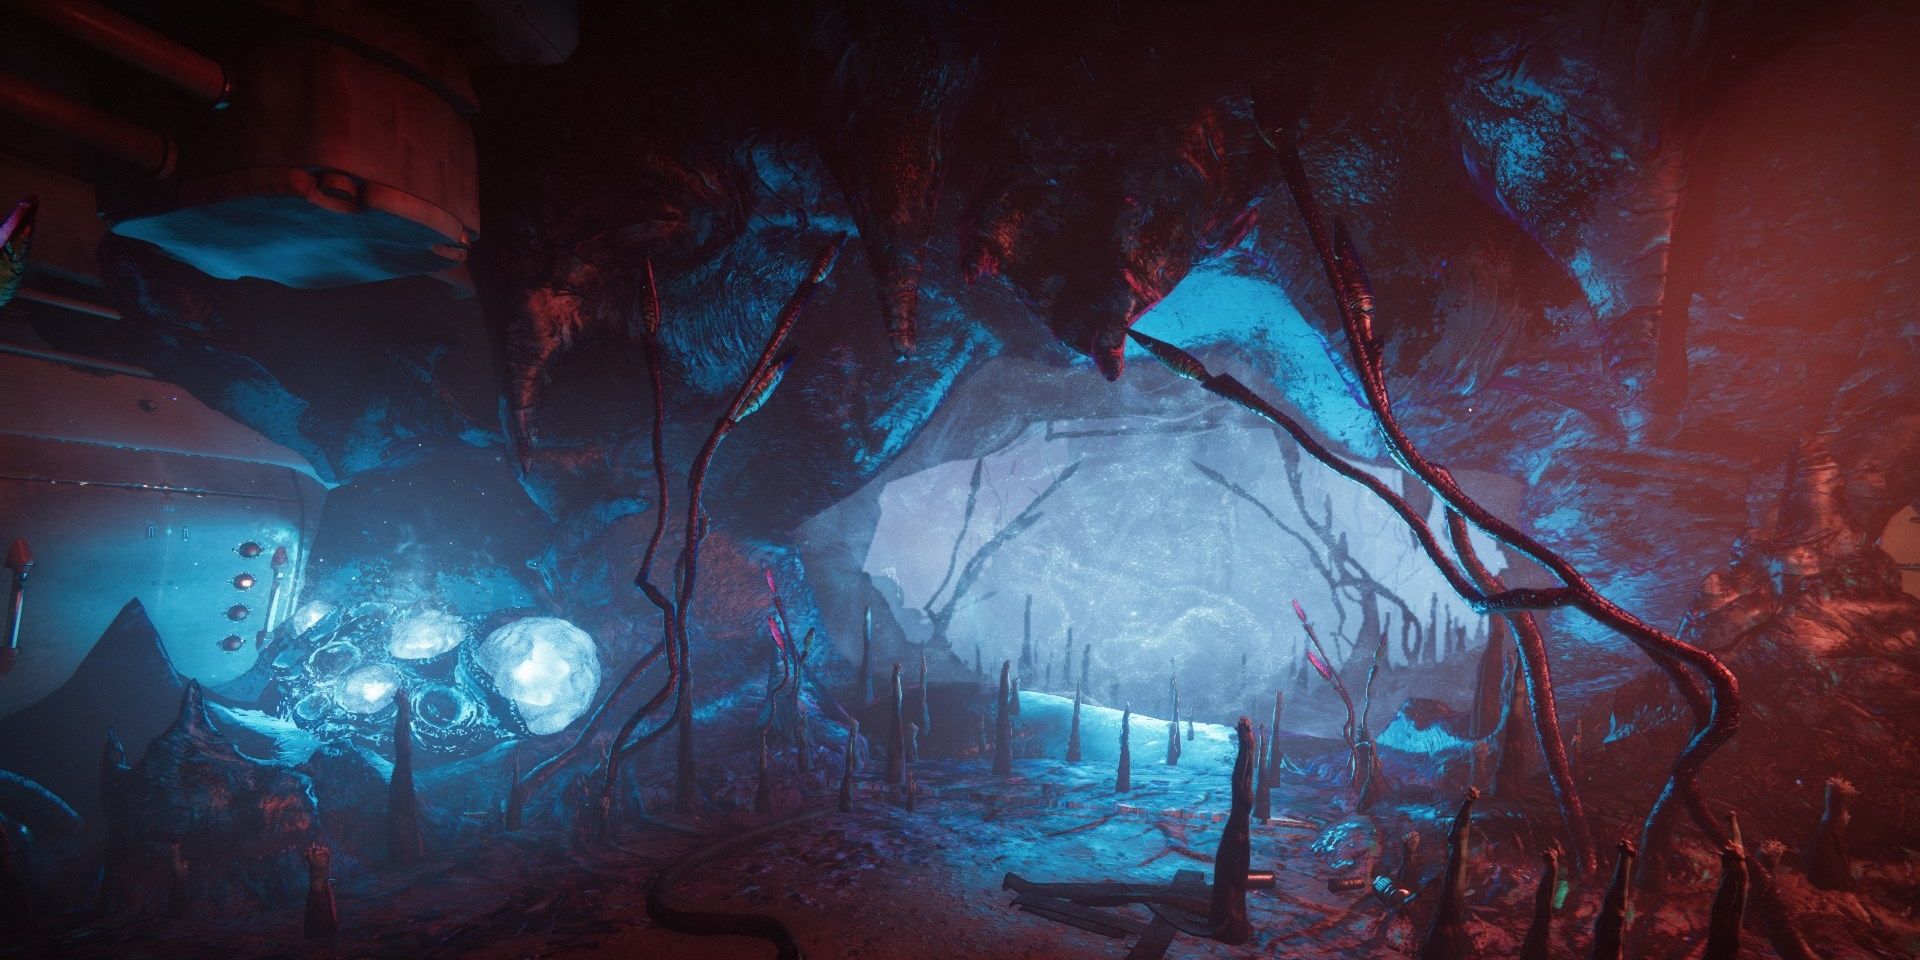
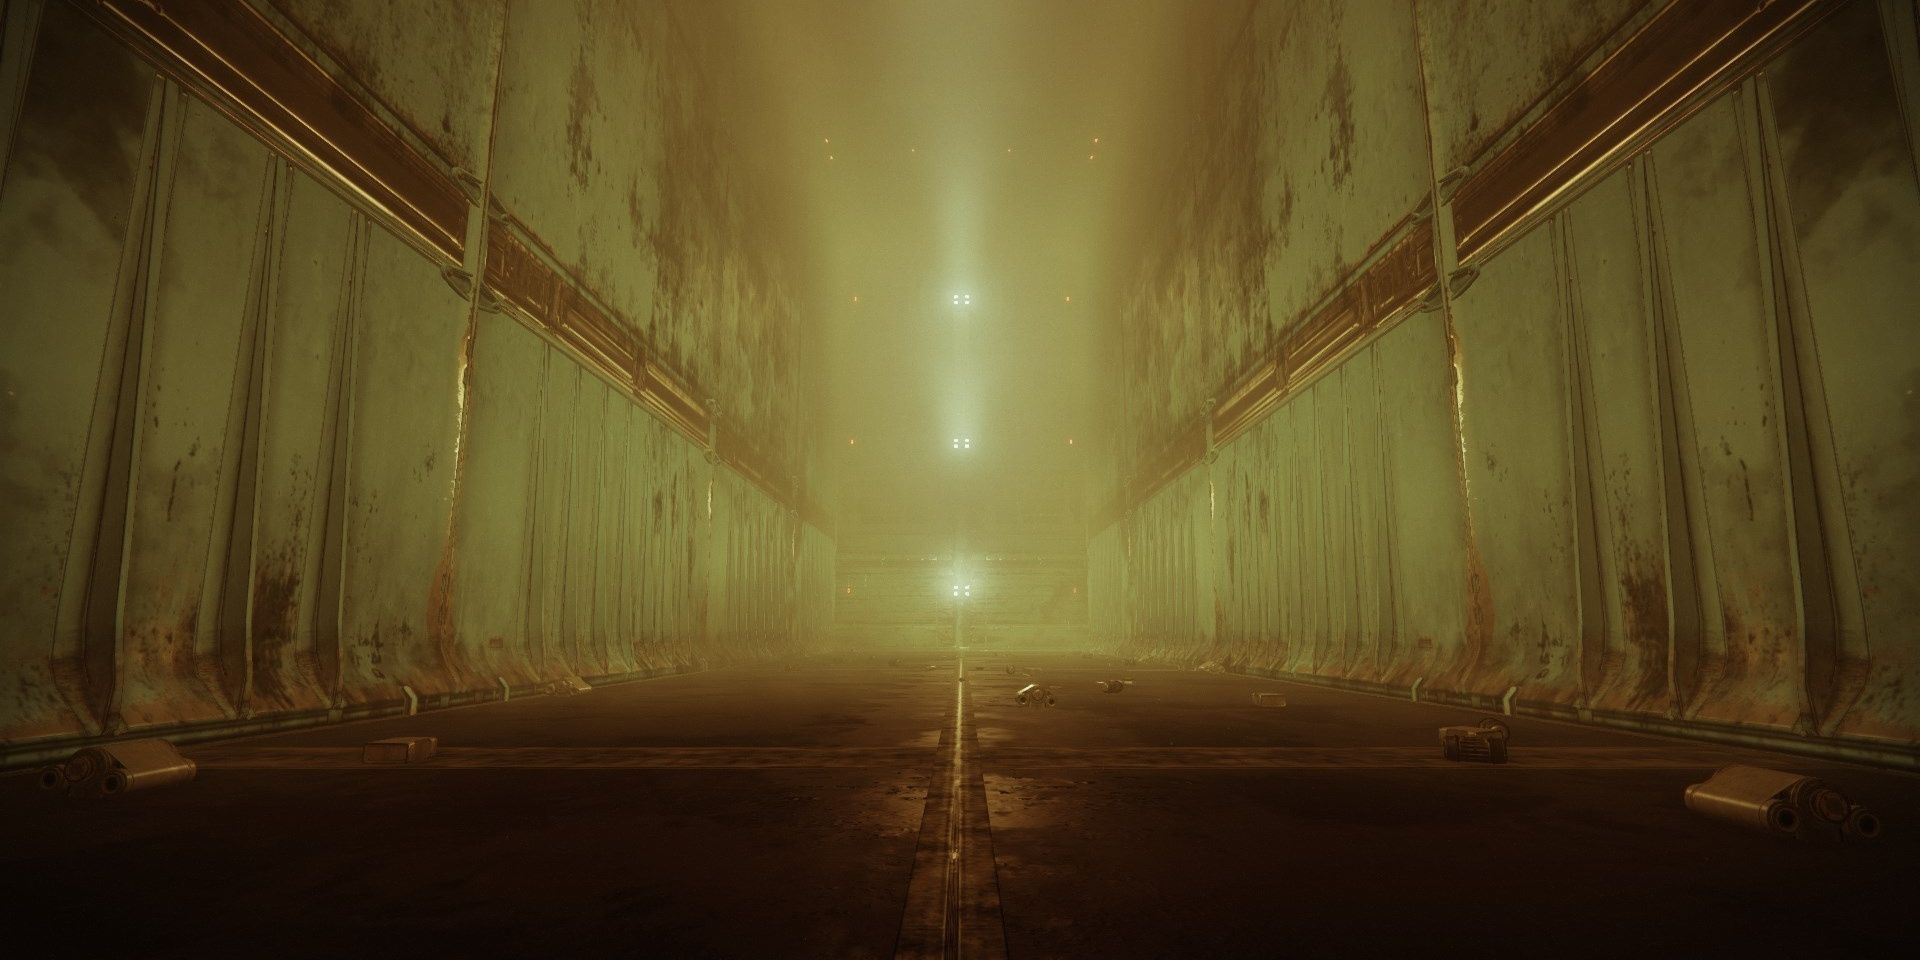
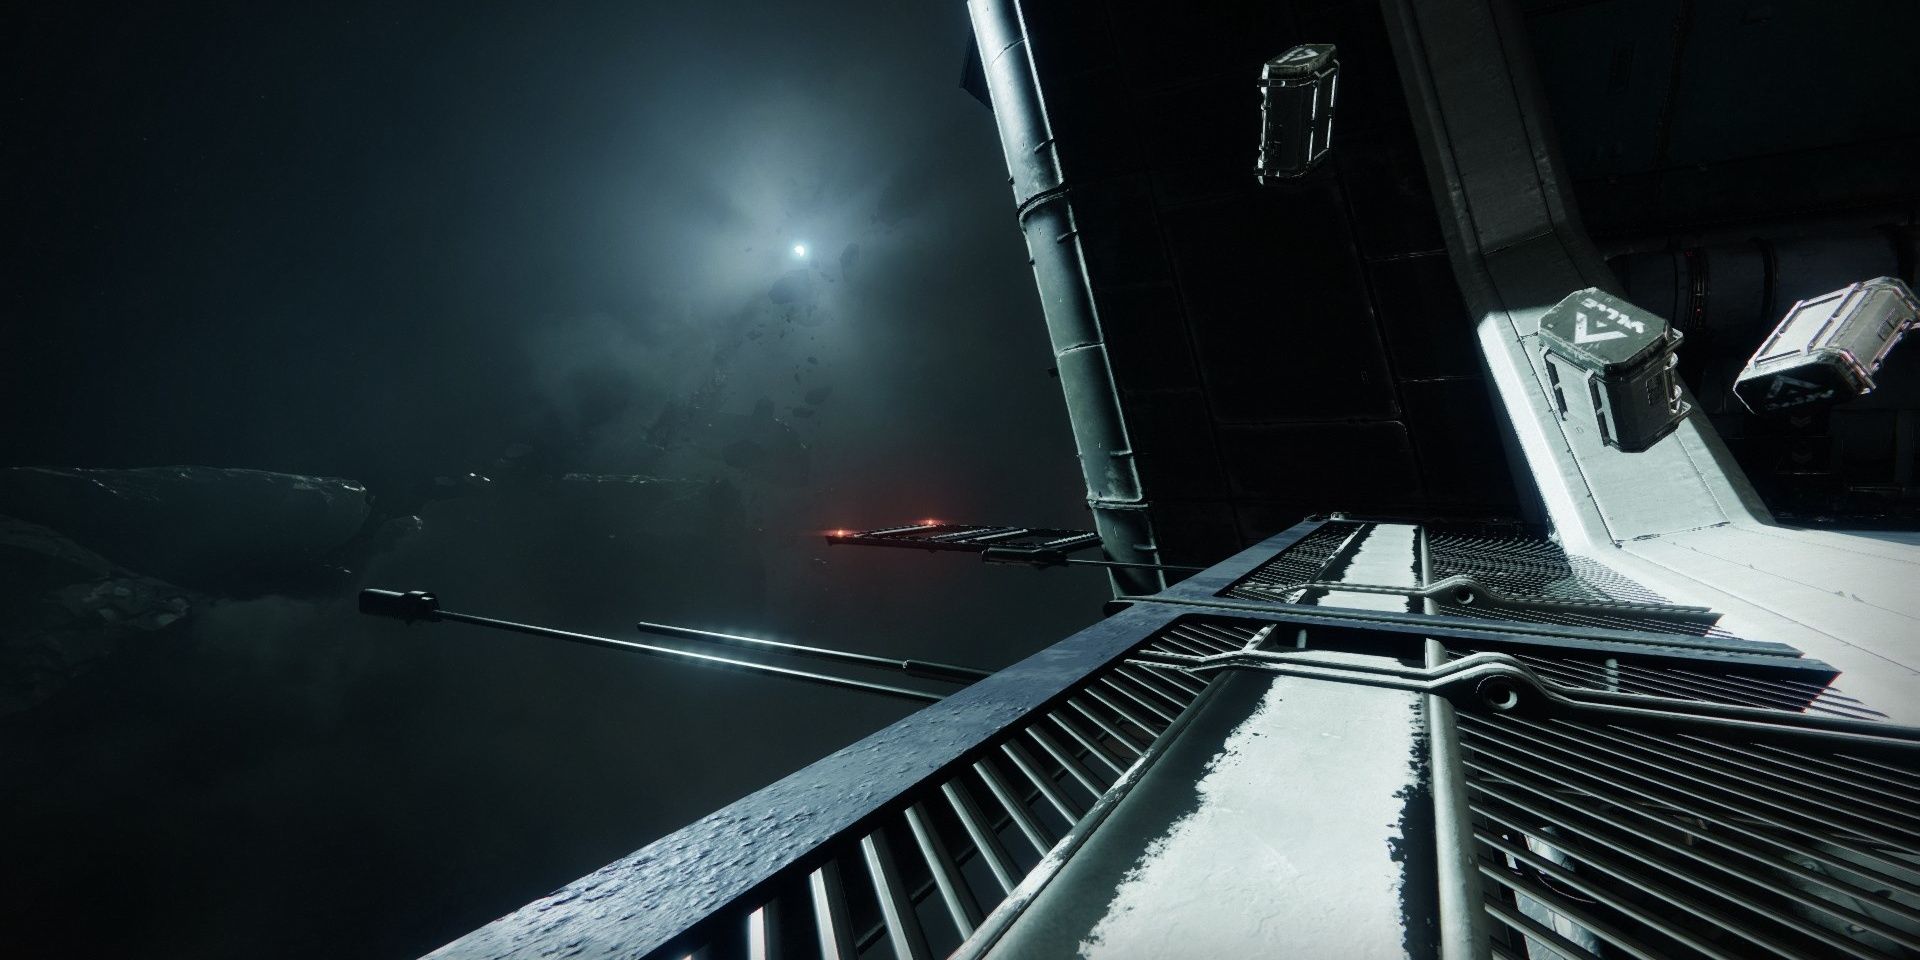
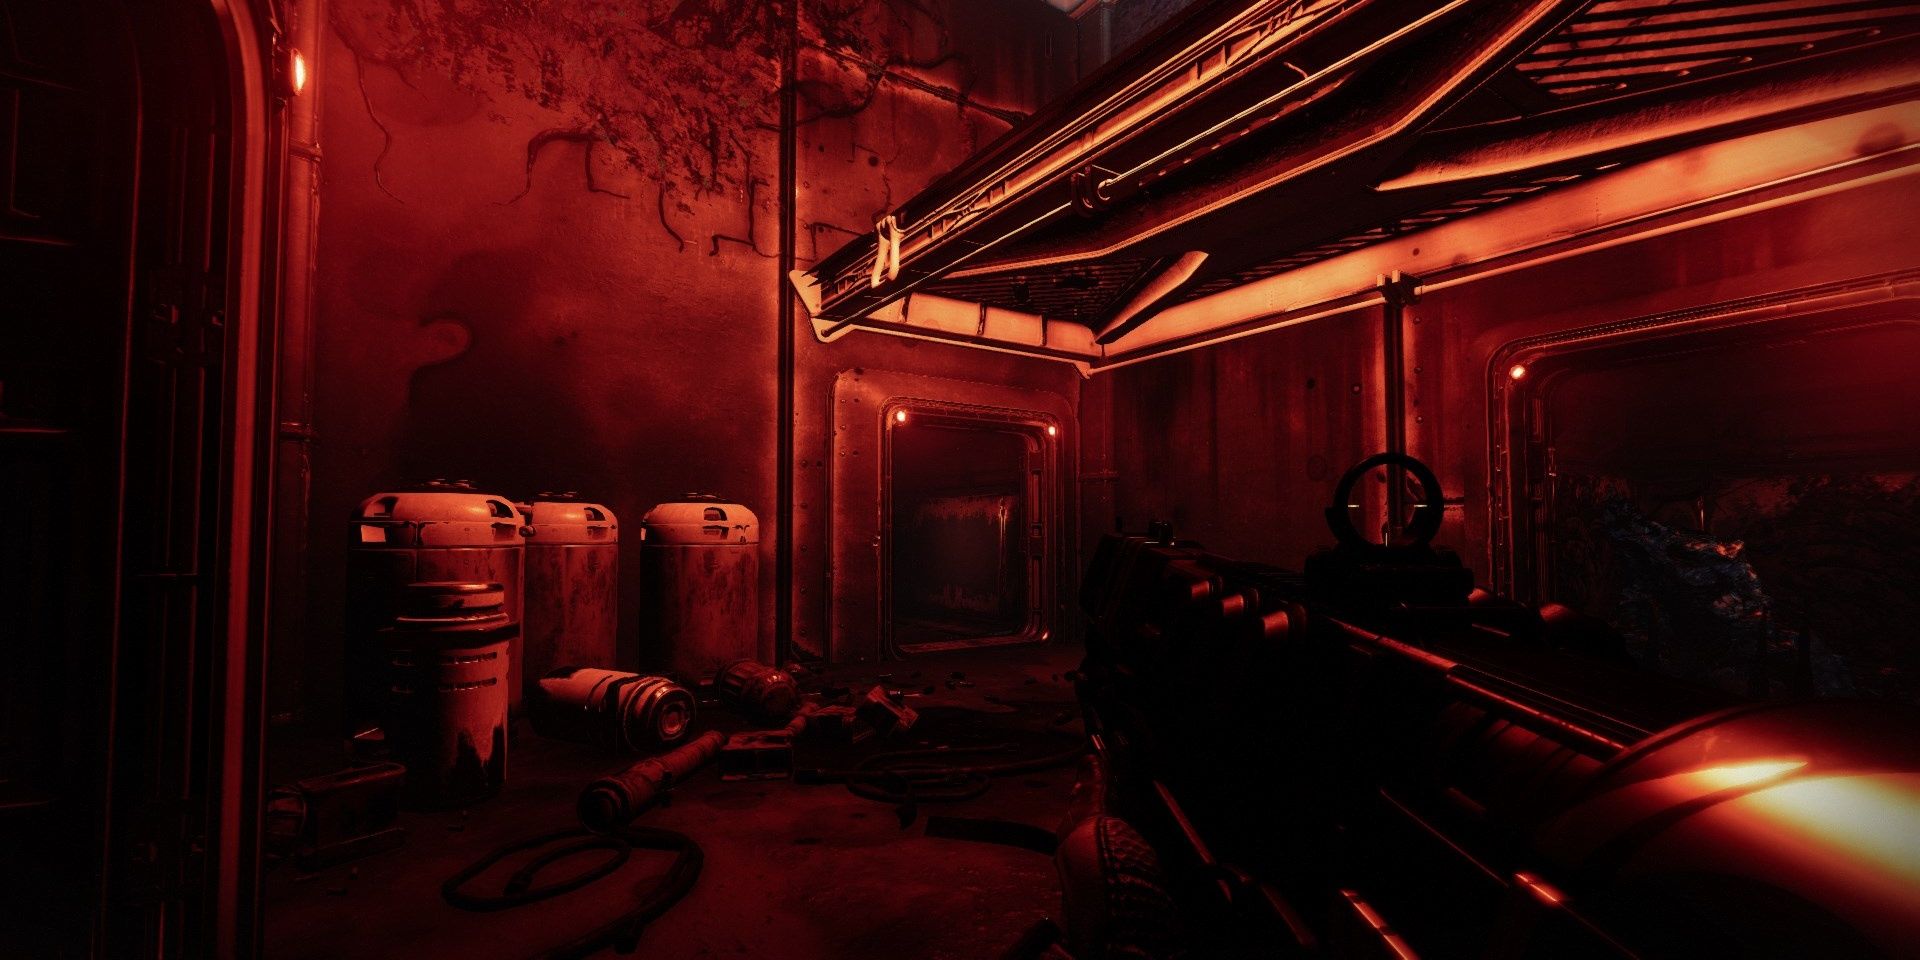
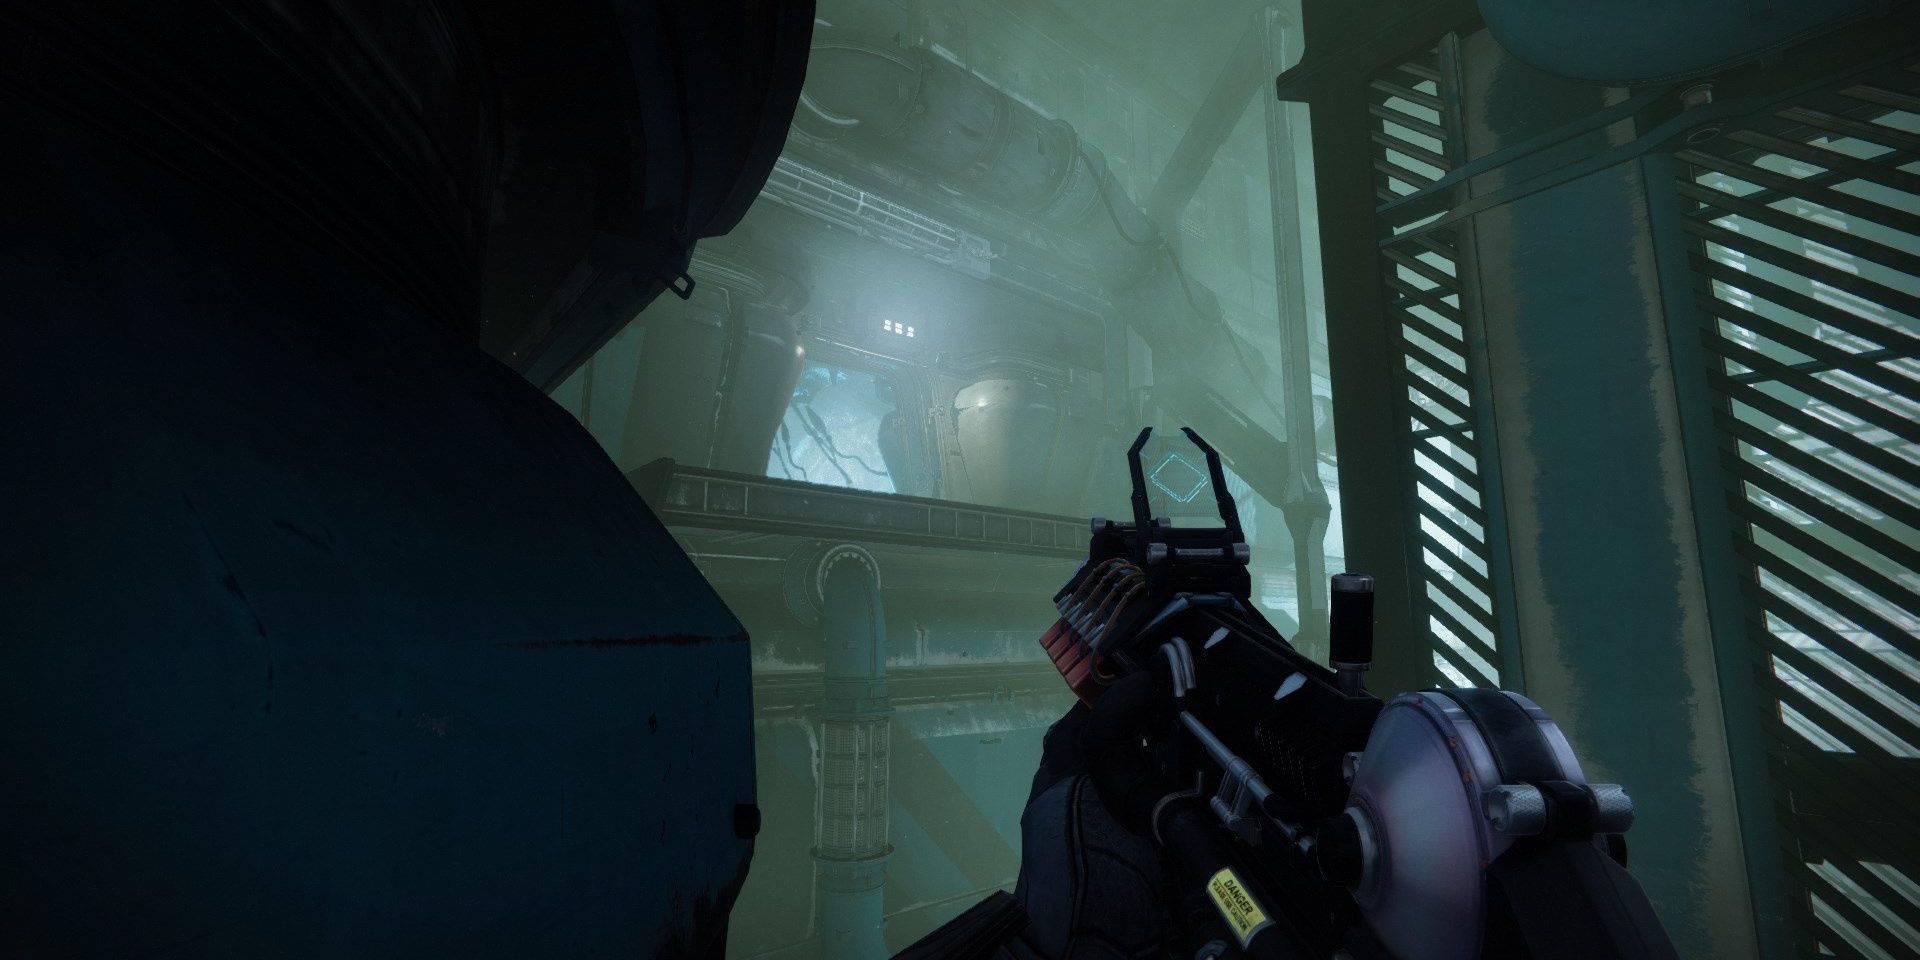
Entering The Glykon
You will spawn at the loading ramp of the Glykon. The main doorway is locked, so you'll need to get in from the side. Turn left and jump onto the platforms along the ship. Whenever you reach a dead end, turn around or look further along the ship.
Once inside, you'll notice various grates blocking your path. You can destroy these grates by shooting at them. Continue along the path until you reach a large, open room. This room has a massive Cabal door that can be opened by interacting with a lever to the right of the door. If you turn around, you'll notice a room covered in Darkness flora, a fog gate, and a cluster of spores near the fog.
Return to Table of Contents
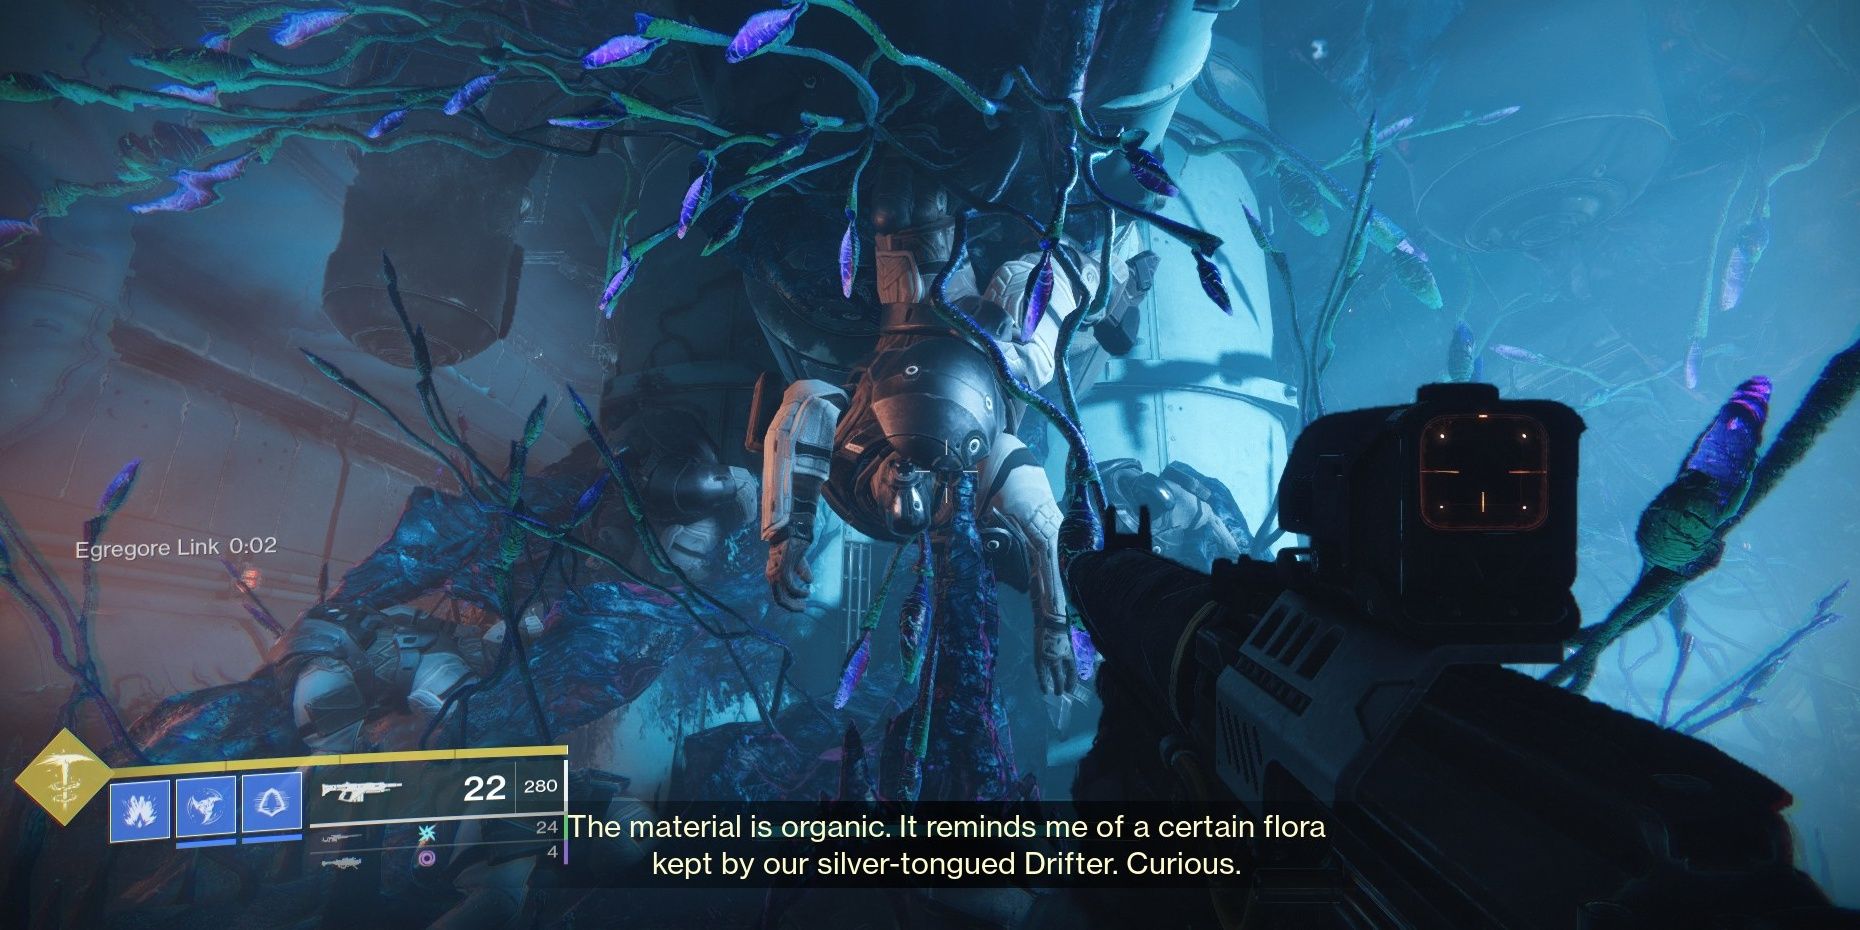
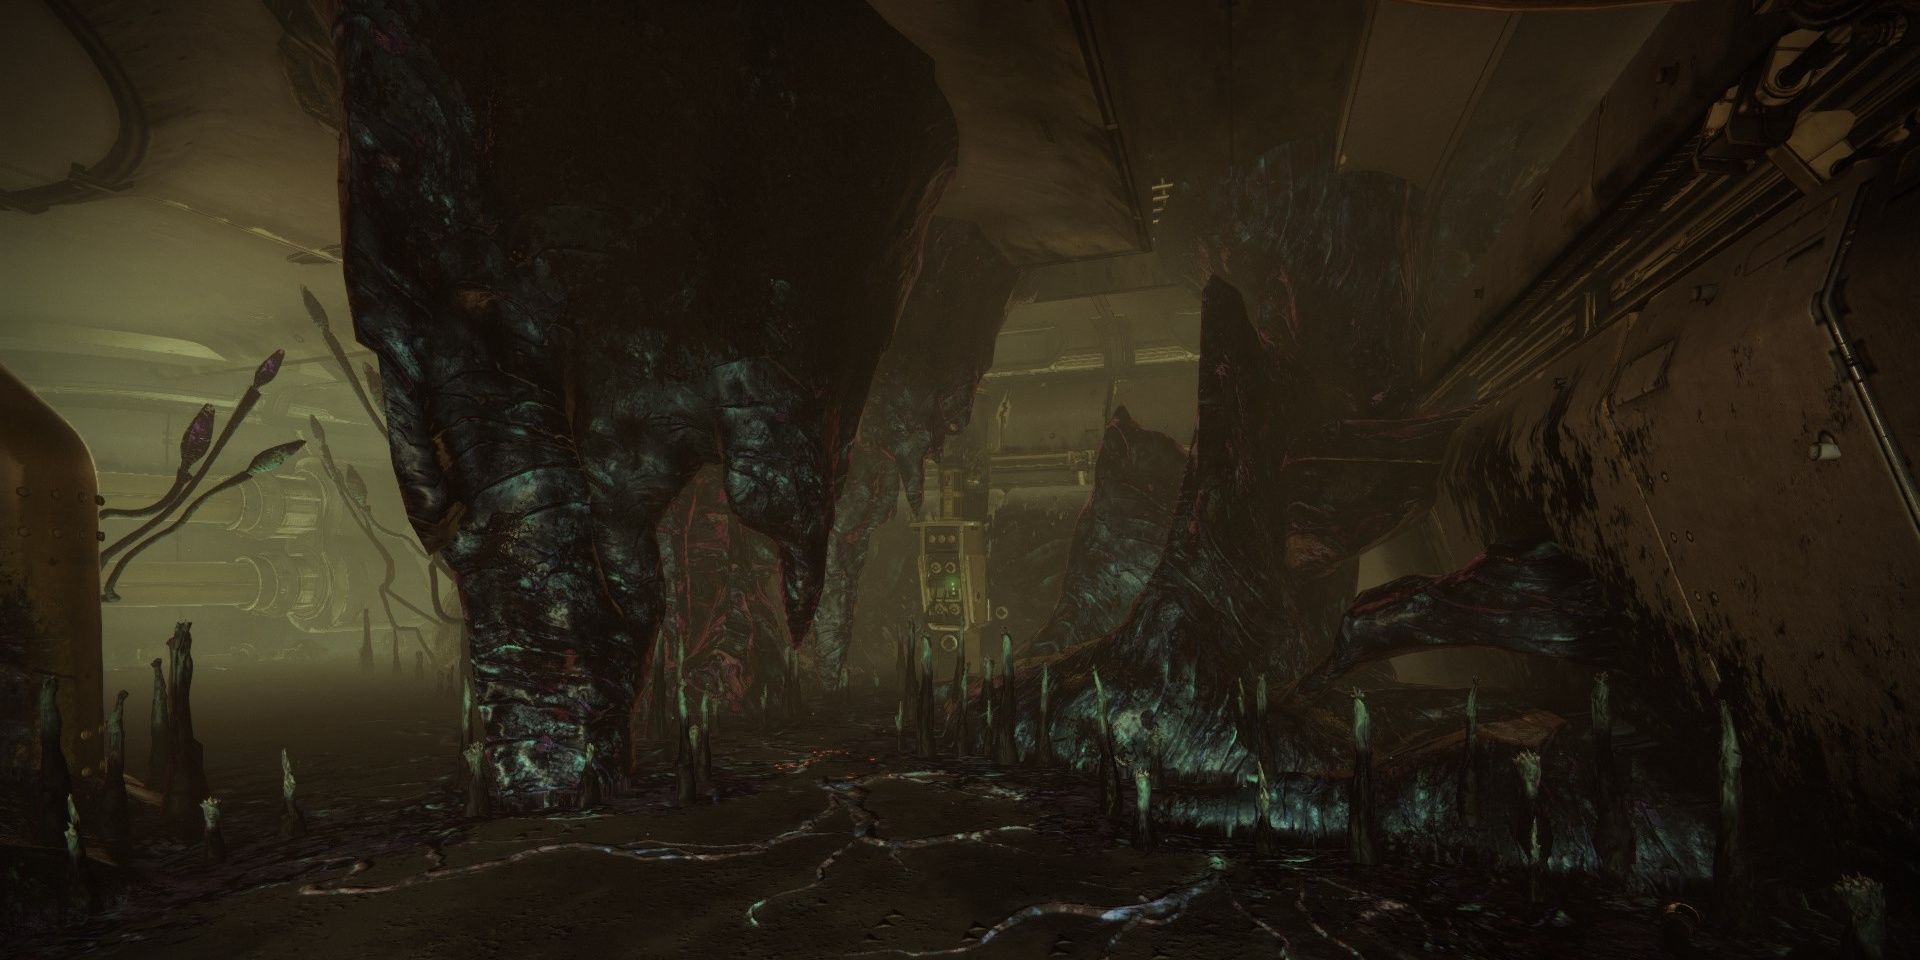
Popping Spores
Near the strange Darkness fog gate will be a cluster of spores. To cross the gate, you must stand near the spores and damage them. This will give you a 15-second buff named "Egregore Link." While active, you are able to cross these strange Darkness fog gates.
To progress, head to the top left corner of the room. Break the vent, then proceed forward. When the path ends, jump up the vent to continue onward. The end of the path will drop you into a massive electrical room.
Return to Table of Contents
Collectibles: Glykon Entrance
There are two collectibles tied to the opening section, both of which are after you open the loading bay door.
Set 1: Collectible Clue #1
Break the spores near the fog, then cross into the next room. Scan the Cabal at the front of this room for some info.
Set 2: Collectible Clue #1

After you cross the first Darkness fog gate, jump up to the air vent as you normally would to progress. When you enter the vent, scan the Cabal terminal on your left.
Return to Table of Contents
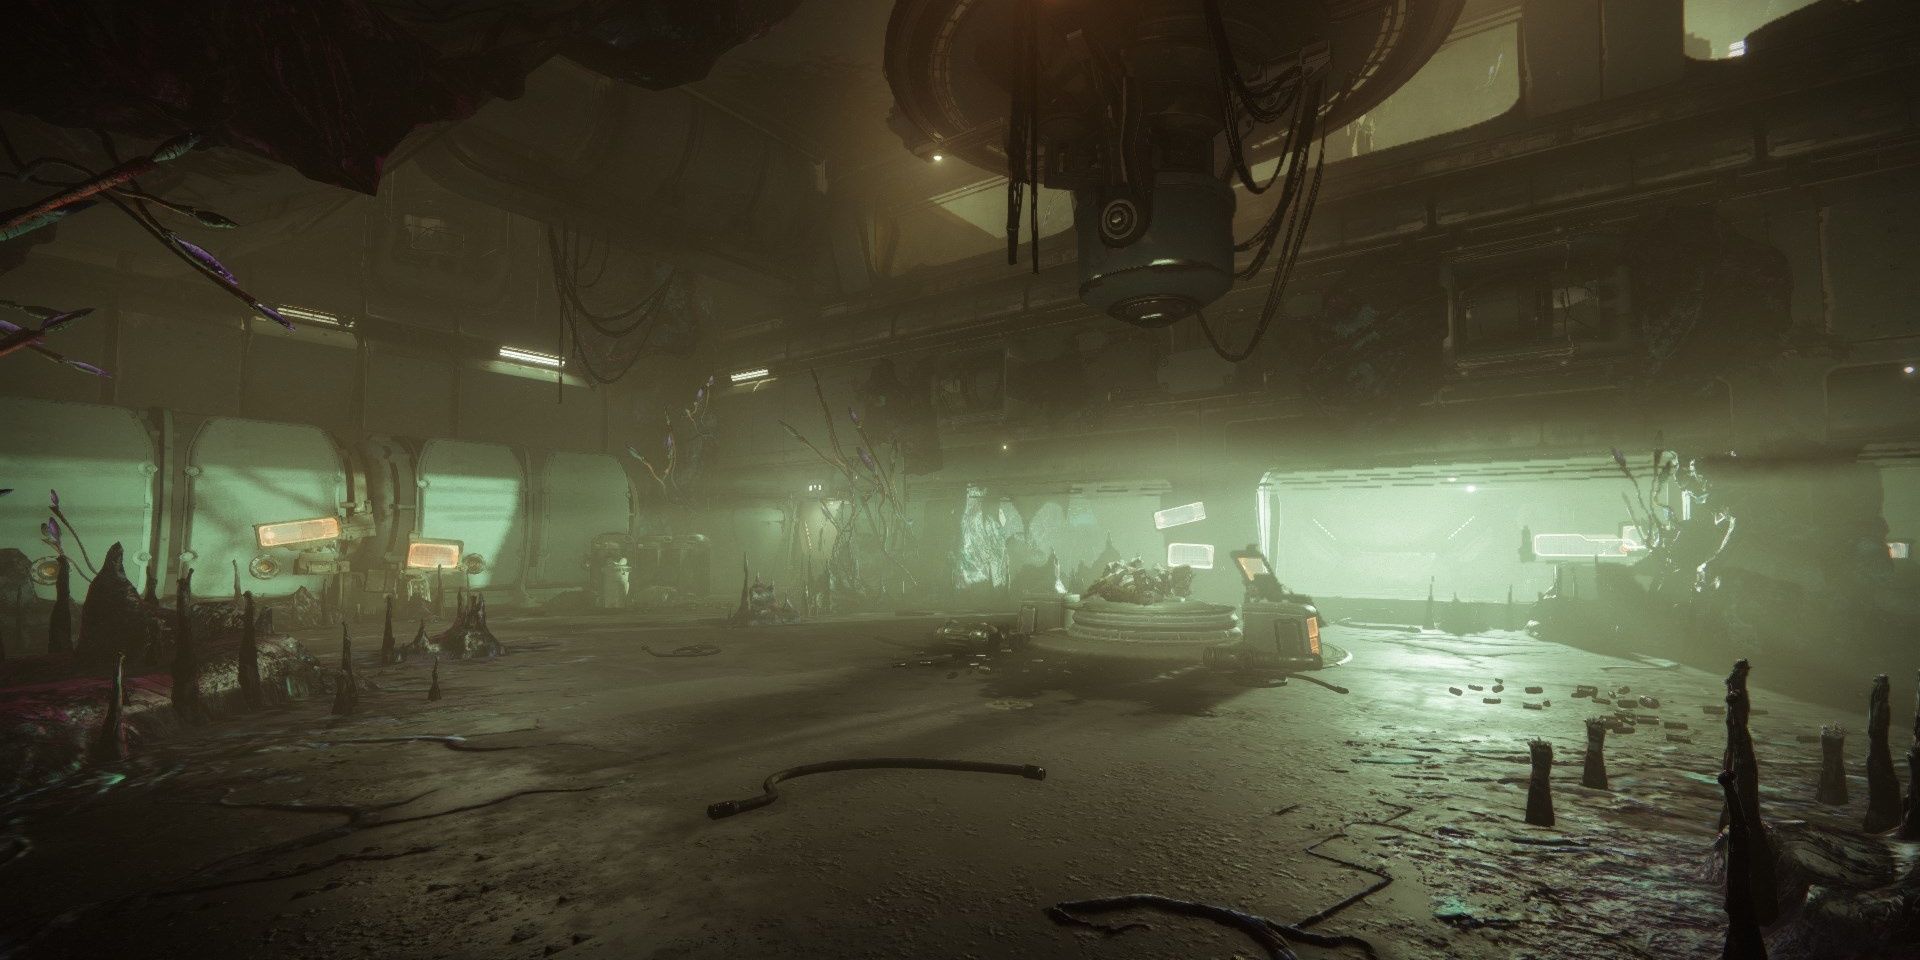
Electric Room
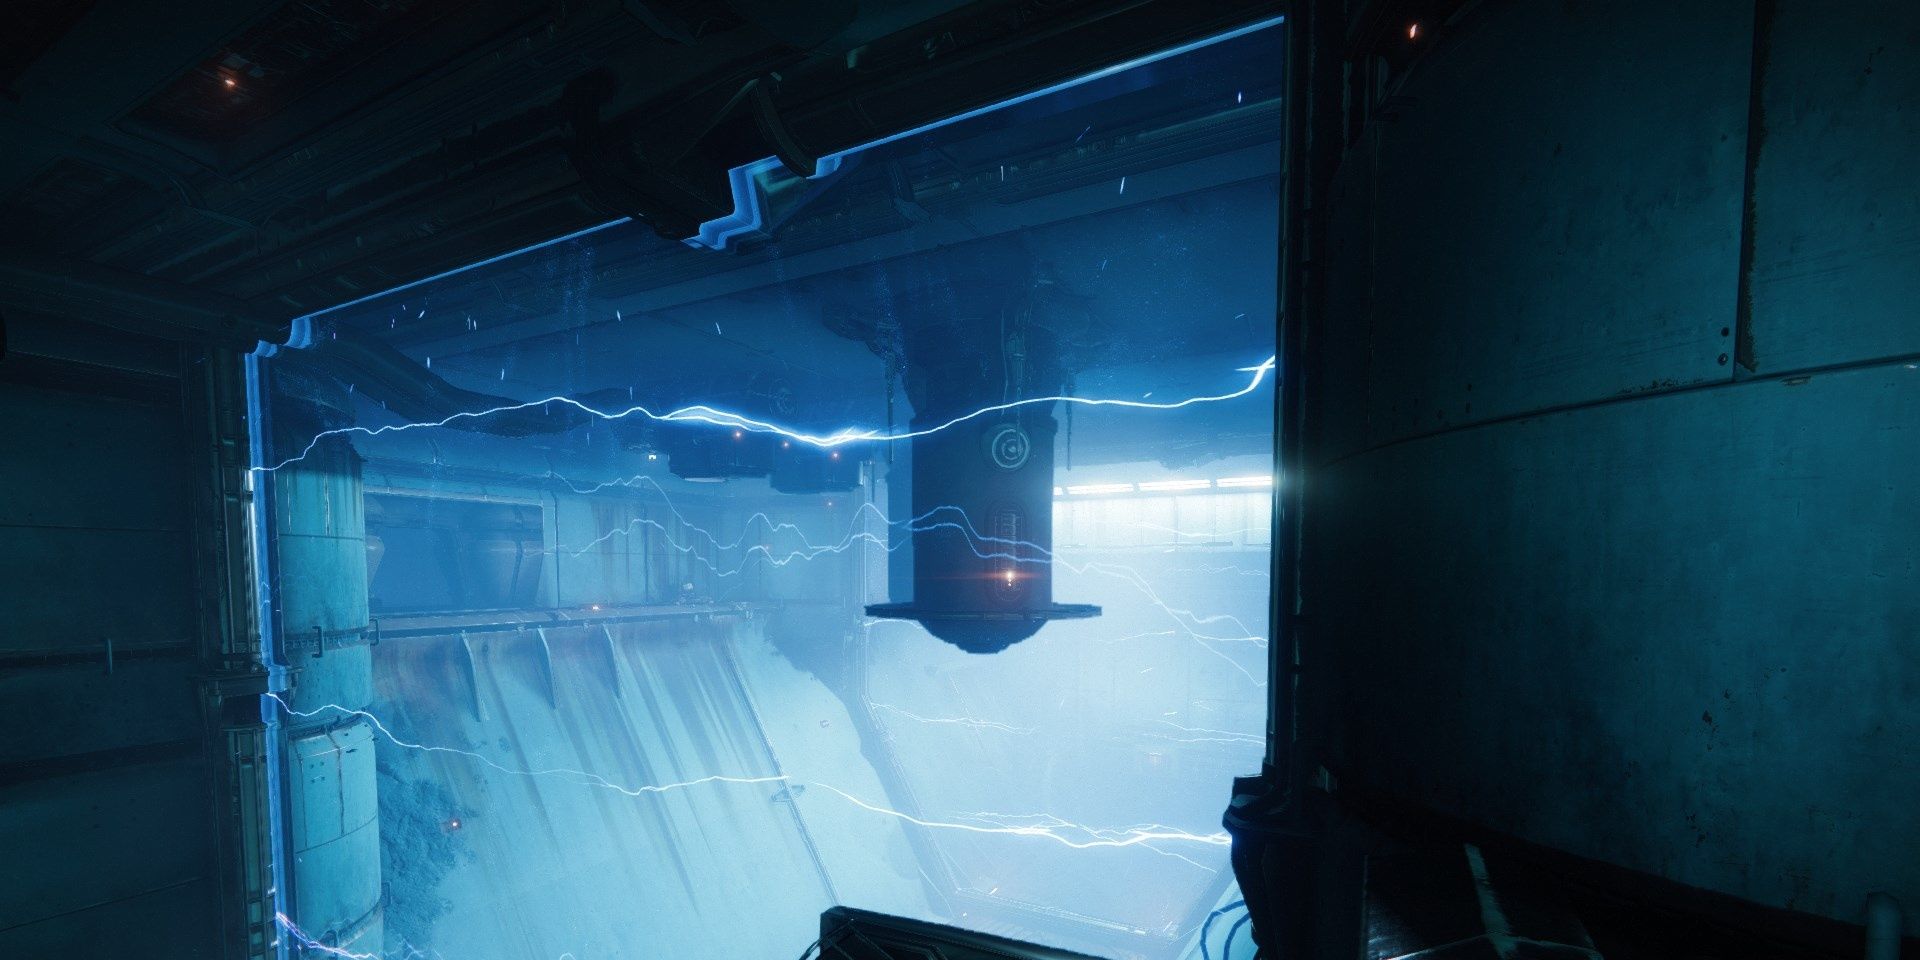
When you drop down, turn around and continue into the room. Scorn Screebs will charge you. They're fairly tanky, so try to keep your distance. At the end of the path is a switch that will open a spore door near where you dropped down from. Break the spores, then cross the gap.
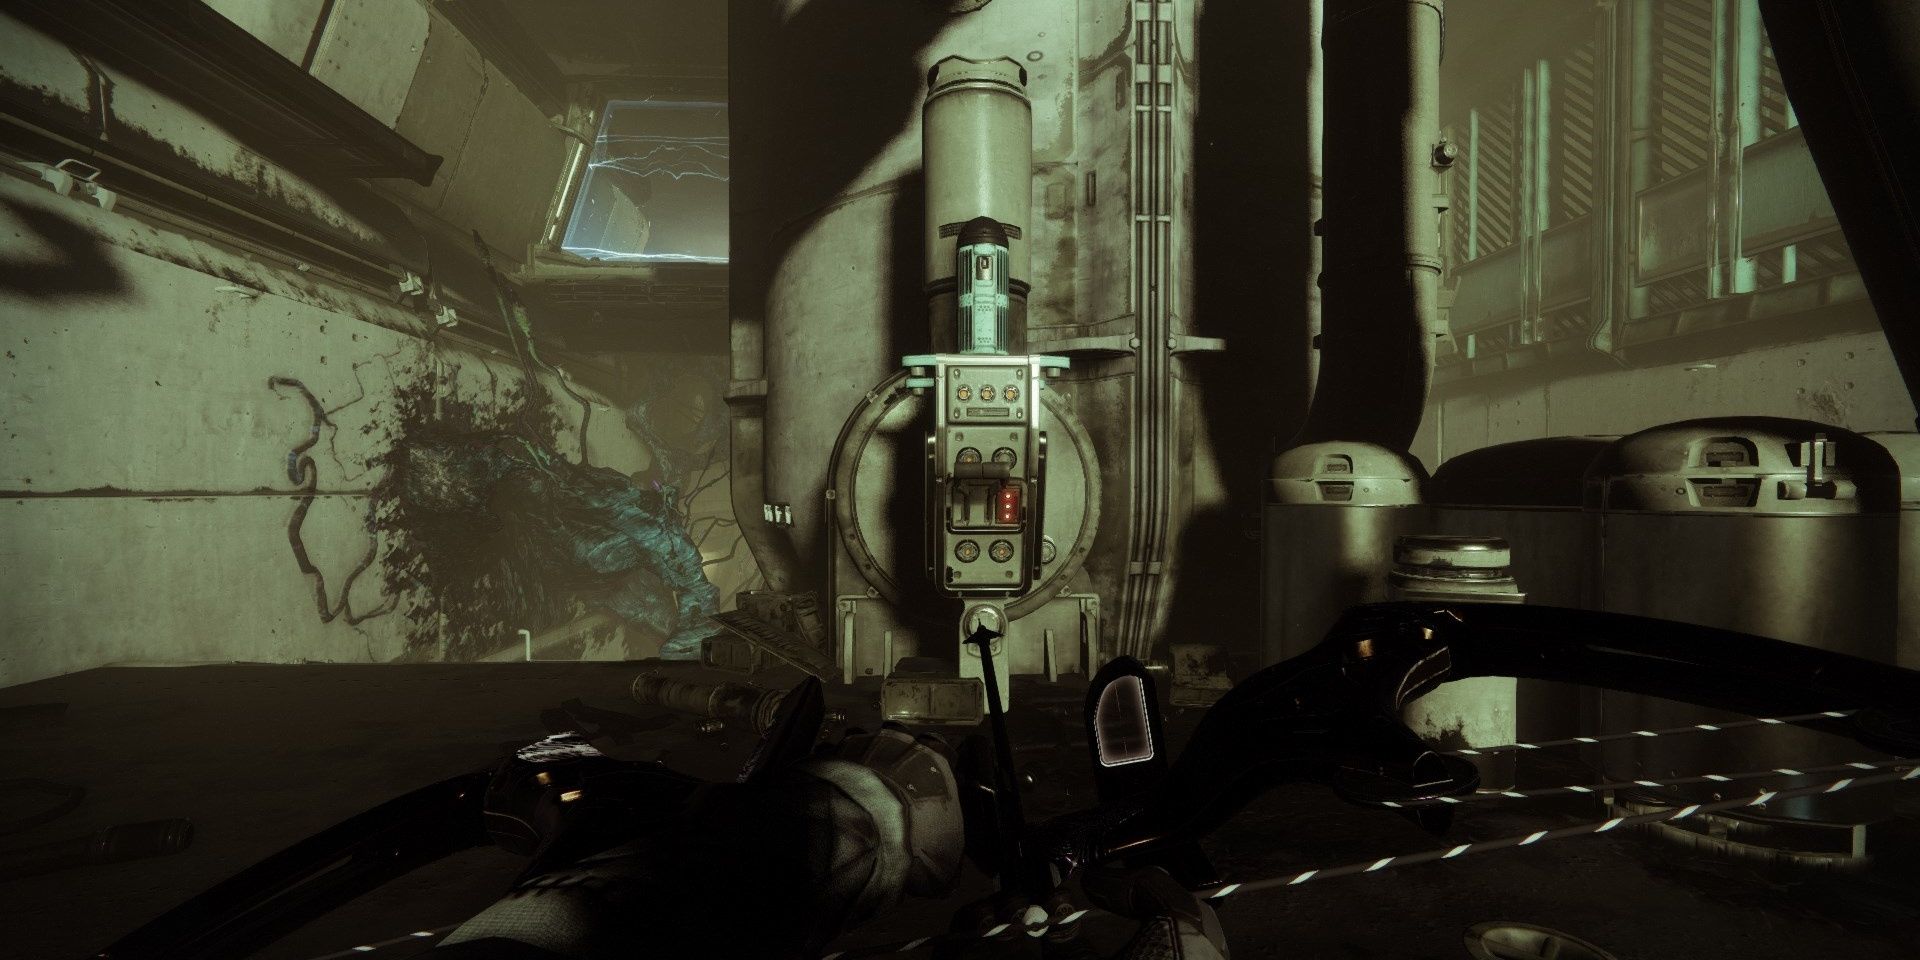
More Screebs will jump you once you cross the fog. Once defeated, you will have to cross one additional gap in the electric room. You will find an electrical fuse exposed in a red tube. Destroy this fuse by damaging it. This will open the hatch beside it.
Drop down the hatch to fight more, you guessed it, Screebs. A well-placed grenade should take care of most of them. Push forward slightly, turn right, and jump up the platform. There should be a switch near the wall. Flip it, then run to the opposite end of the room. This will lead to another gap in the electric room.
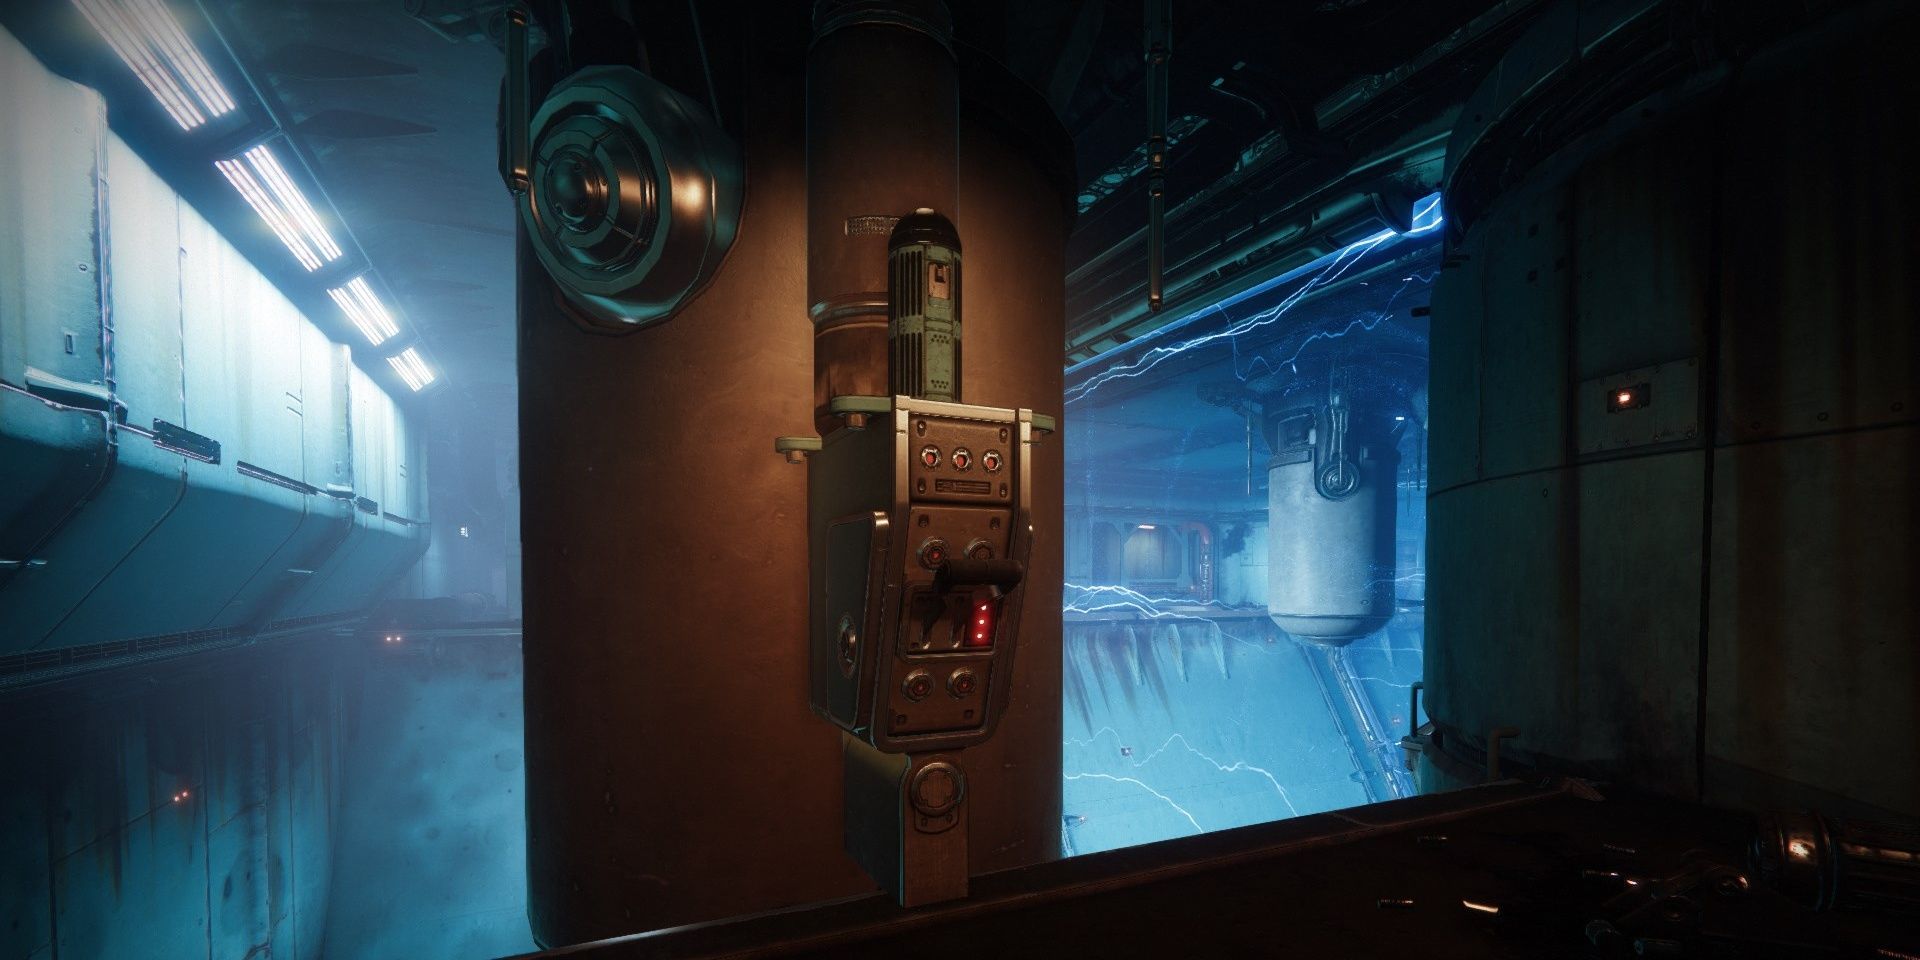
Cross it, flip the switch at the end, then double back to where you just came from. Drop down a floor, turn around, and look to the wall on your left to find a newly opened hatch with a fuse you can break. Destroy it, then run back to the electric room gap you just came from. Land on the platform below. When ready, run down the garbage chute. Be prepared to jump to break your fall.
Return to Table of Contents
Collectibles: Electric Room
Guardians can find three hidden collectibles during this part. Note that you must find every collectible from one set for the next set's collectibles to be interactable on the weekly reset.
Set 1: Collectible Clue #2

The second collectible for set one can be found right before you cross the first fog gate. It is a broken Scorn totem laying on a wall right after you cross the first gap.
Set 2: Collectible Clue #2

When you reach the second gap in the electric room, turn left to find a destroyed Cabal turret. Scan it to gain some insight into what happened in the Glykon.
Set 3: Collectible Clue #1

After you defeat the first pack of Screebs, jump up the raised platform on your left. Scan the sweeper bot lying beside a terminal.
Return to Table of Contents
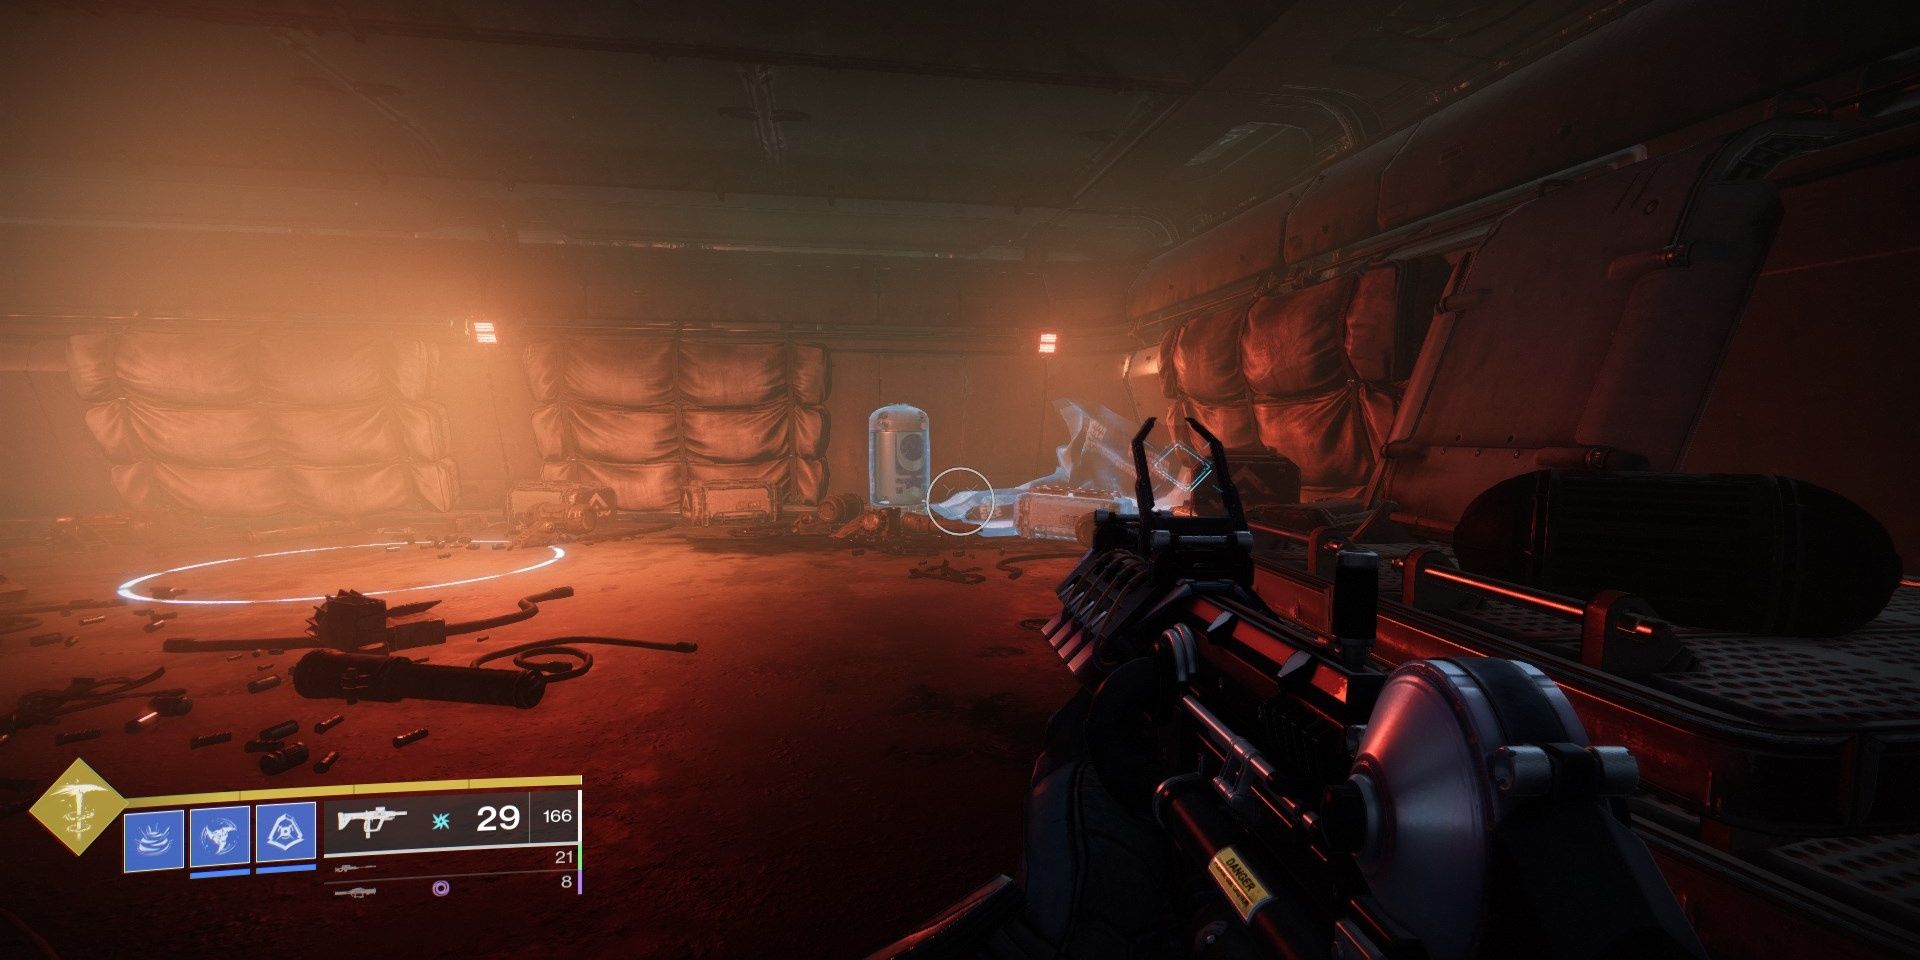
Garbage Compactor
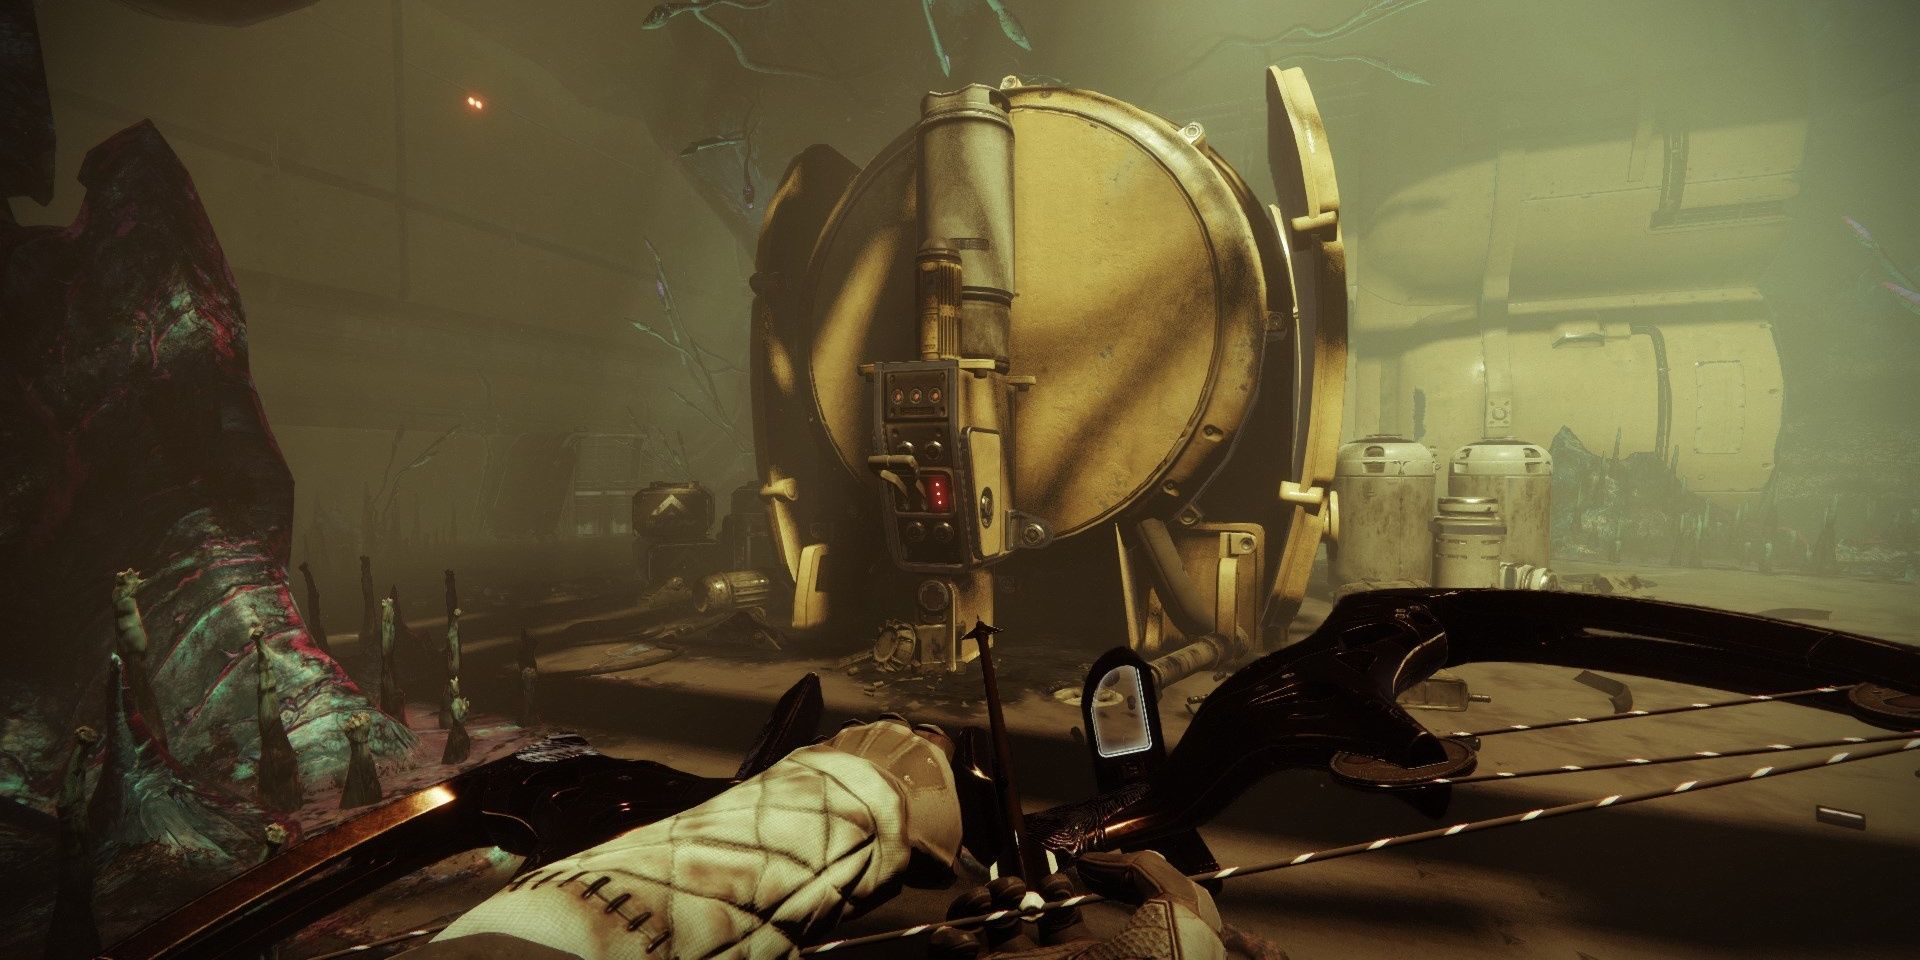
In this encounter, you must destroy three fuses guarded by vents on the ground. Destroying all three fuses will reveal an exit in the floor, denoted by red lights. Both ends of the room will be enclosing on you as this happens, and Screebs will be falling from the ceiling to blow you up. Bring some explosive weapons.
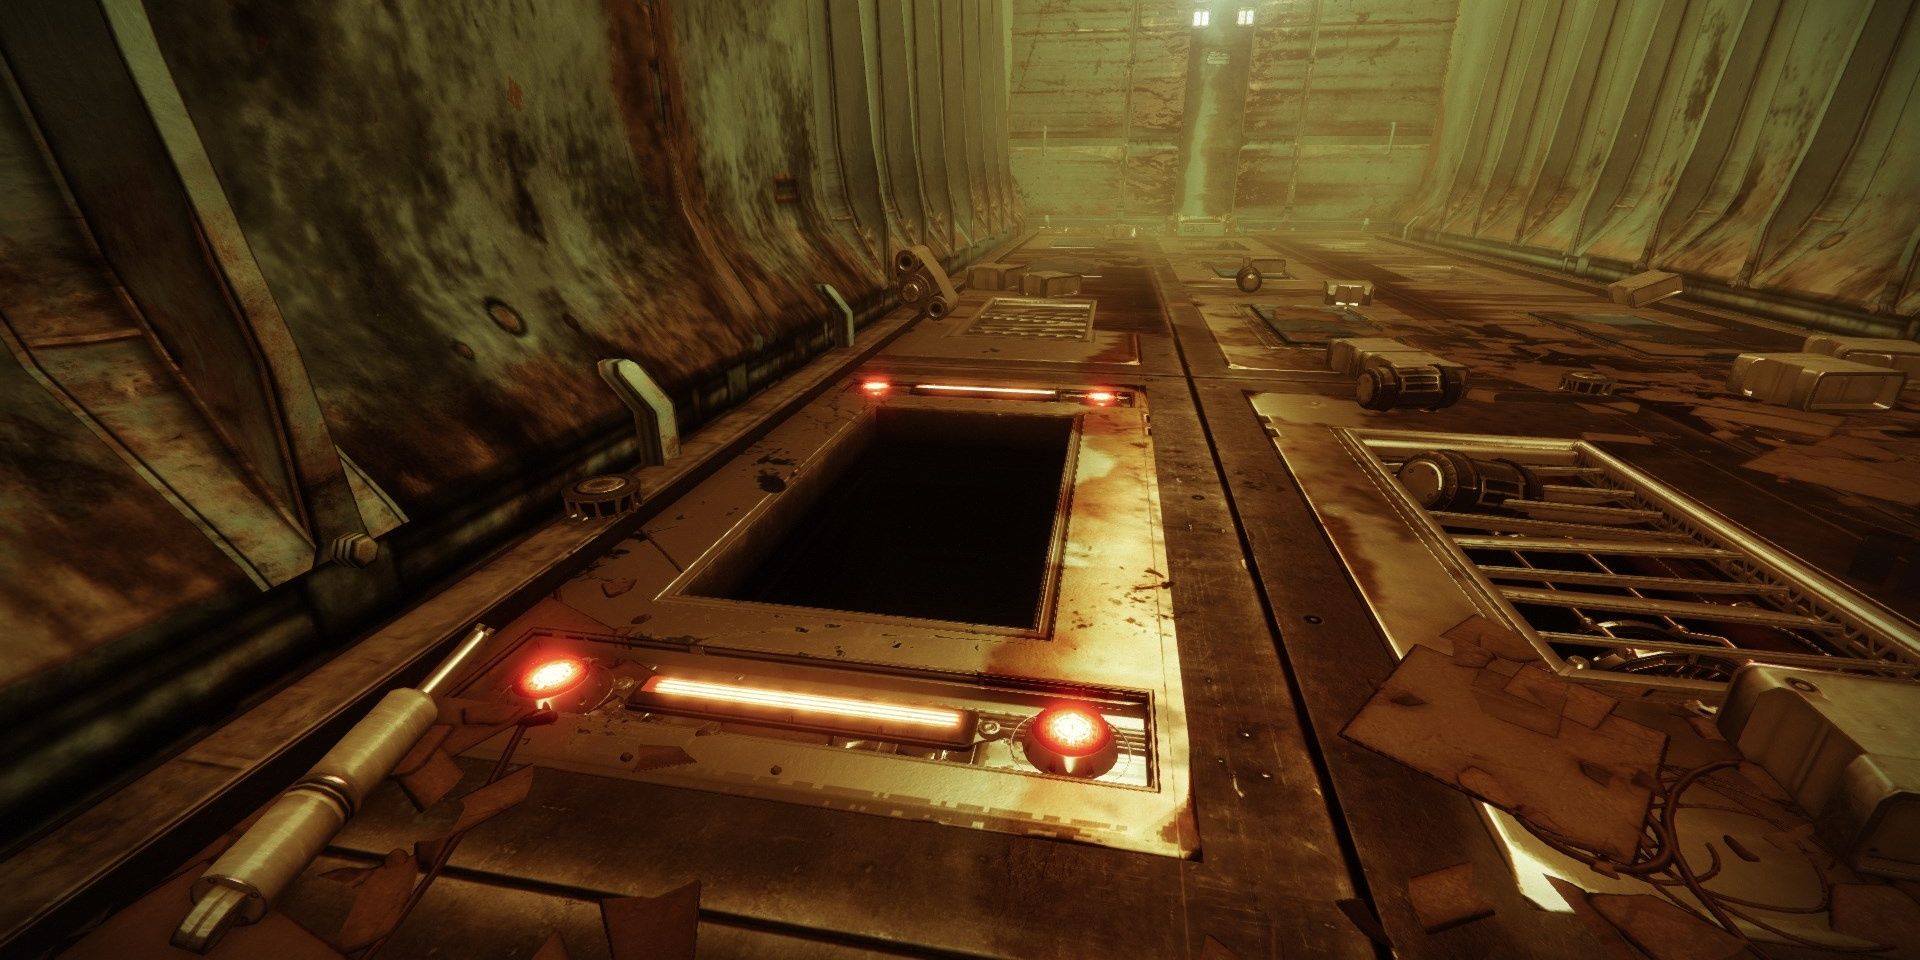
Interact with the switch at the end of the room to start the encounter. Focus on the vents closest to the compactor walls. Break any vents that have a glow near the center, as these have the fuses you're looking for. Once all three are destroyed, drop down the hatch with red lights to enter the next encounter.
Note: If you die during this encounter, you just respawn above the chute. You can restart this part with no consequence. Screebs do not respawn.
Return to Table of Contents
Scorn Combat Encounters
First Encounter Enemies
- Chieftains
- Ravagers
- Stalkers
- Raiders
- Screebs
As you drop down into the next room, waves of Scorn will begin to spawn. Try to keep your distance during this fight; most of the enemies are Ravagers. Take out the Raider snipers in the back first, then kill any charging Ravagers. Eliminate the Chieftans next, then clean up the rest of the enemies. Push to the next room for another, much harder encounter.
Second Encounter Enemies
- Two Abomination Bosses
- Chieftans
- Ravagers
- Stalkers
- Raiders
- Lurkers
Two Abominations will pelt devastating lightning attacks at you during this fight. Stick to cover to prevent getting sniped. Raider snipers will also lurk on the second-story platform overlooking the area. Take them out as soon as you can.
Besides the ranged enemies, tons of Ravagers will swarm you throughout this fight. Pull them away from any Chieftans before facing them. Kill the Ravager waves, then focus on defeating the Chieftans. When most of the Scorn are dead, focus on one of the Abominations. They are absurdly tanky, so feel free to unload your Heavy weapon or Super into them. Note that if you take too long to kill an Abomination, Screebs will periodically spawn to apply pressure.
When one Abomination dies, an additional wave of Scorn will spawn. Screebs will be part of this wave, so try to stay away from enemies. As before, kill the melee enemies first. Defeat most of the Scorn, then focus all of your firepower on the second Abomination. Killing all of the Scorn in the hangar ends the encounter.
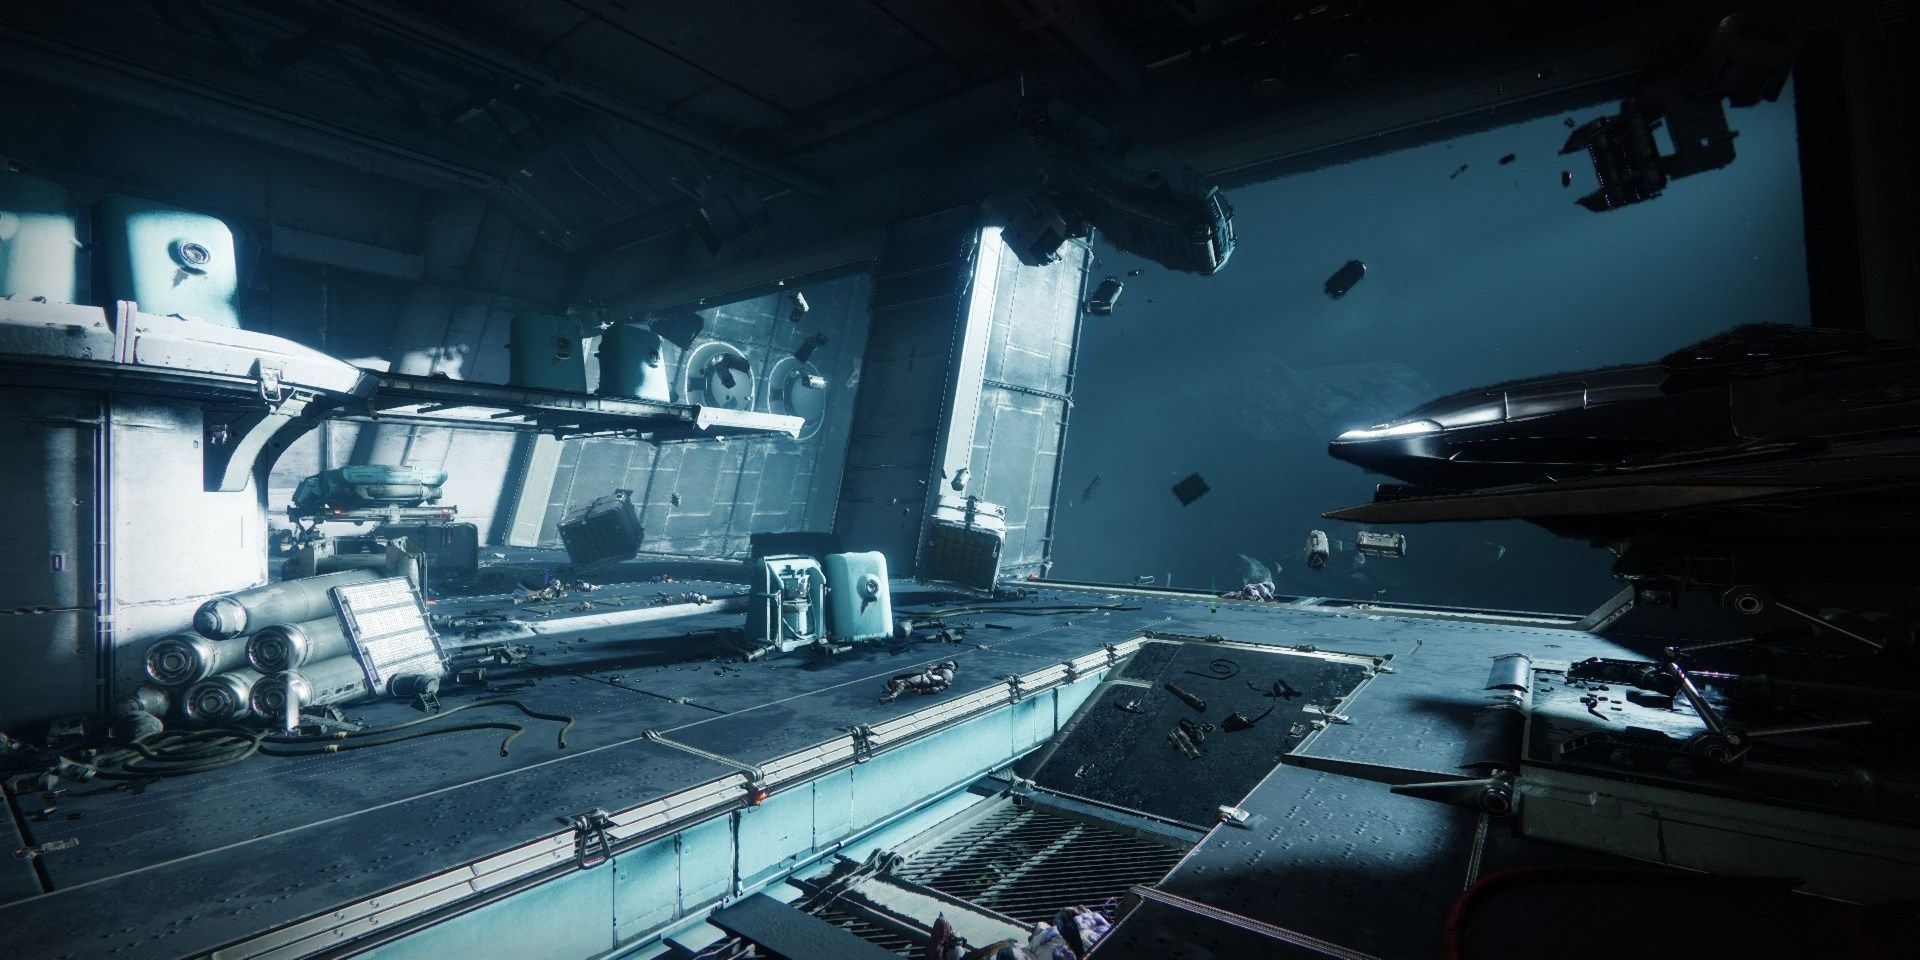
To leave the hangar, look for a platform to the right of the second hangar door. Hop to the other hangar, jump on top of the Cabal ship, then head into the air vent in the corner of the room. The end of this path will lead to the final maze in Presage.
Return to Table of Contents
Collectibles: Hangar
You can find four collectibles in the hangar, two of which are tied to set three. One is in the encounter arena, one is directly outside the hangar, and the final two are in the adjacent hangar.
Set 1: Collectible Clue #3

Near the end of the first hangar will be a human-looking ship adorned with Calus ornaments. Jump on top of the ship to scan it.
Set 2: Collectible Clue #3

After completing the second encounter, jump across the platforms outside the hangar to reach an adjacent hangar, the same path you'd normally take. Run under the docked Cabal ship to find a Cabal Incinerator fuel tank.
Set 3: Collectible Clue #2

After you defeat the second Scorn encounter, jump out of the first hangar onto the platforms outside. Instead of jumping across to the second hangar, jump up to a platform above. Scan the communication array.
Set 3: Collectible Clue #3

Upon entering the second hangar, run to the bottom left corner of the room. There will be a yellow datapad you can scan.
Return to Table of Contents
Maze
Right as you enter this room, hang left to find a switch beside a Cabal door. This will reveal a spore cluster. Break the spores, then run to the right side of the room to cross a fog gate.
Inside this new room will be a small band of Screebs. Blow them up before continuing. At the end of this room is yet another switch you can pull.
Directly across from the switch will reveal a door with a fuse. Unlike other fuses, this one is timed. Once broken, you have five seconds to act.
Break the fuse, then jump to the platforms above you (the electric grid guarding it will dissipate). A switch can be found to the right of the platform. Once pulled, follow the left corridor to find yet another switch.
All of those switches opened a spore cluster beside the timed fuse you blew up. Run to the spores, obtain the buff, then run towards the end of the room where the Screebs came from. Jump up the platform to your left, then continue along the path to reach a new room.
Maze: Part Two
More Scorn can be found in this room, this time including fodder enemies. Clear them out. At the end of this room is a switch that opens the door below you. Turn right, drop down, and kill the Cabal turret guarding the room. To the right of the turret is a fuse you can break. Destroy it to reveal a spore cluster, this time directly across from the entrance to this room. Break the spores, then run to the end of the room to drop down the fog gate.
You are now in a proper maze. Fortunately, this maze is very easy to navigate. Break the panels show above to reveal the spore cluster. The grates across from the spores are where you need to go. Break that grate, push forward, then break the next one. A third grate is further ahead to your left. Destroy it to push forward. Run left again, kill the Screeb at the end of the corridor, reach the end of said corridor, then make a u-turn to your right to reach the fog gate. If you lost your spore buff, double back to grab it. You'll have more than enough time to traverse the fog gate.
To recap:
Enter the grate directly across the spore cluster -> turn left as soon as possible-> turn on the next left -> kill the Screeb -> turn right -> turn right again to reach the fog gate.
This will bring you back to the start of the puzzle. Now a door will be open directly across from the first spore cluster. Break the spores to run through the fog gate.
This is the final combat section you'll face, excluding the final boss itself. Toss a grenade where the Screebs flood from to clear out most of the enemies. Run to the top left corner of the room to flip a switch. This will reveal a fuse to your right. Shoot it, then run to the other end of the room to find a spore cluster. Use this spore cluster to pass the Darkness fog gate at the exit.
Return to Table of Contents
Collectibles: Maze
Two collectibles can be found during the maze portion of the Presage mission. One can be found after you destroy the timed fuse after the first pack of Screebs, and the second can be found right as you enter the first room.
Set 1: Collectible Clue #4

After you cross the first Darkness fog gate, destroy the timed fuse to reach the top platform. The corridor on your left will have a pile of tubes laying in a corner you can scan.
Set 2: Collectible Clue #4

Scan the Scorn body on the operating table when you enter this part of the Exotic mission.
Return to Table of Contents
Platforming Section
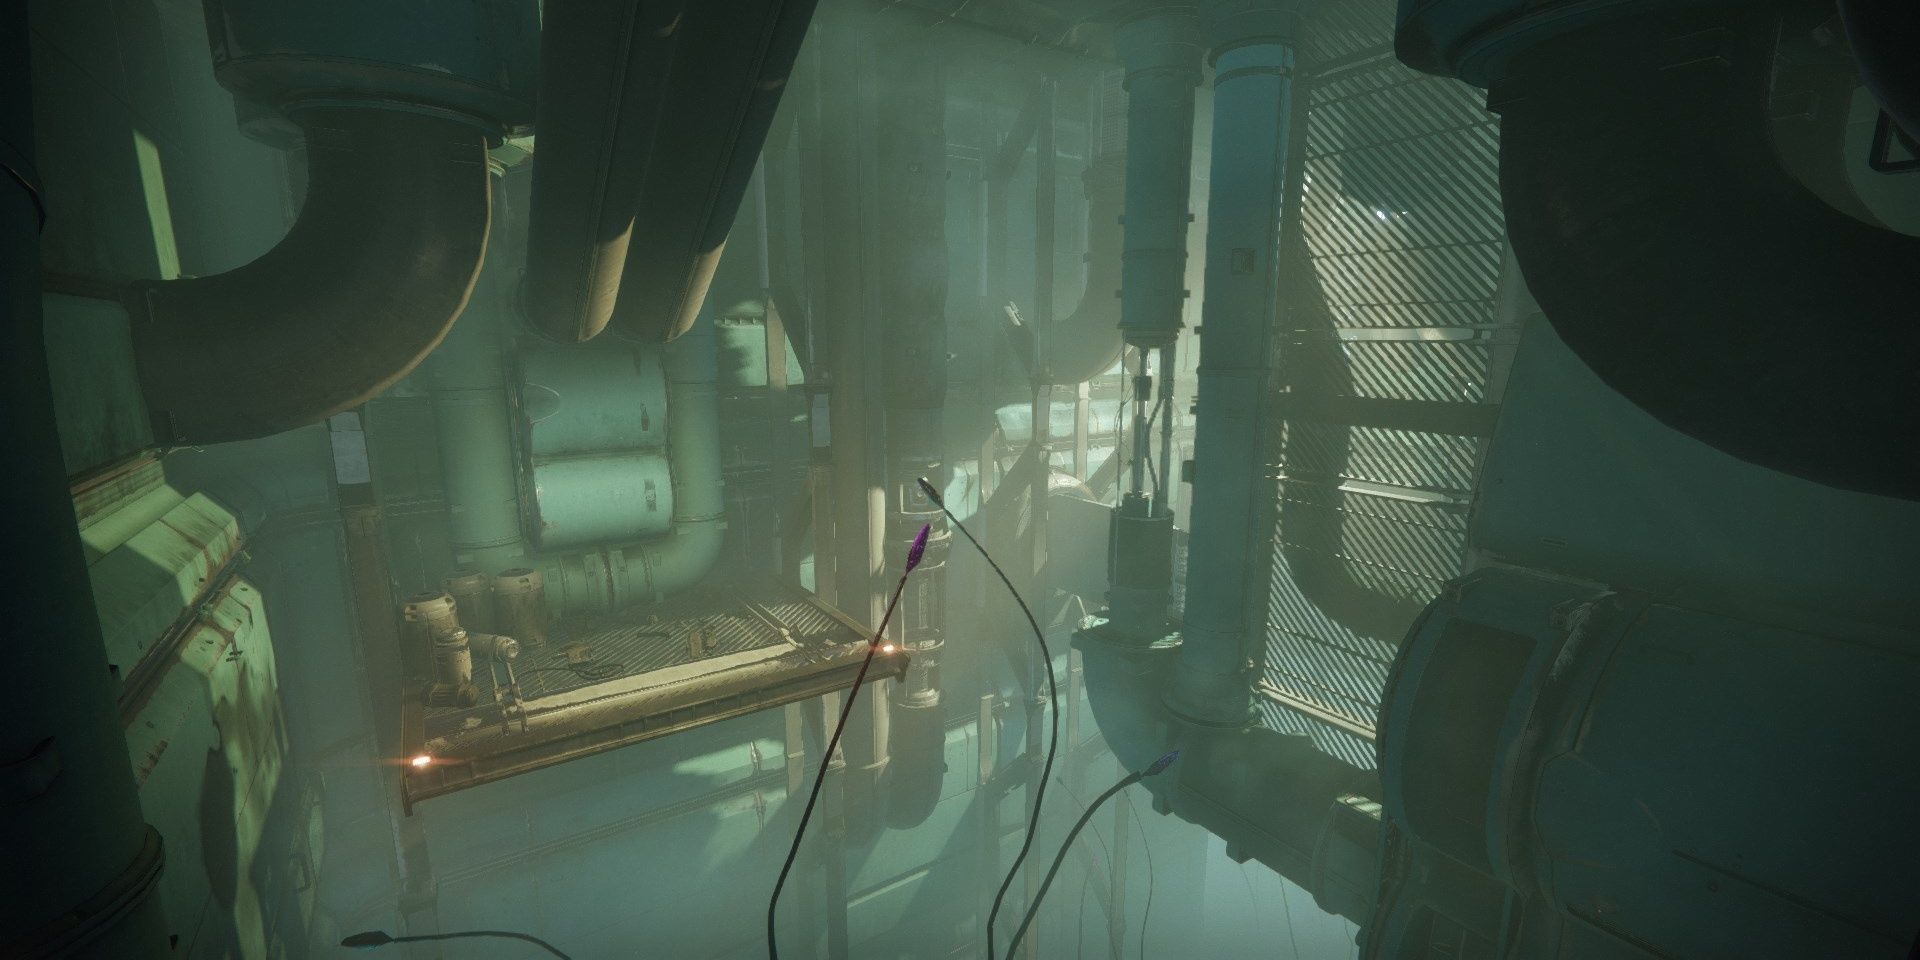
There's one more section before you reach the final boss. Jump towards the vertical platforms to rotate them sideways, allowing you to stand on them. Follow the path to reach the end of the room, revealing a few Scorn Raiders along the way. If the Raiders are giving you trouble, snipe them from a distance.
At the far right end of the room will be a switch. Pull it, then run back to where you came from.
Right as you drop down to a red pipe, look to the center wall in the room to find a fuse you can break.
Run back to the start, pop the spores, then reach the second spore cluster midway through this platforming room (shown above). Refresh your buff, then push to the Darkness fog gate at the right end of the room.
At this point, deploy a Raid Banner to stock up on ammo. When you're ready, break the spore cluster at the end of the room to enter the final boss room.
Return to Table of Contents
Collectibles: Platforming Section
You can find two collectibles in the encounter preceding the final boss. One is in the center of the platforming puzzle, and the second clue is in the Raid Banner room.
Set 2: Collectible Clue #5

You'll find this Ghost Shell on the southern end of the room. When you enter, make a right u-turn around the fence to find a platform with this Ghost Shell on it.
Set 3: Collectible Clue #4
Scan the Cabal tarp and canisters in the top right corner of the Raid Banner room.
Return to Table of Contents
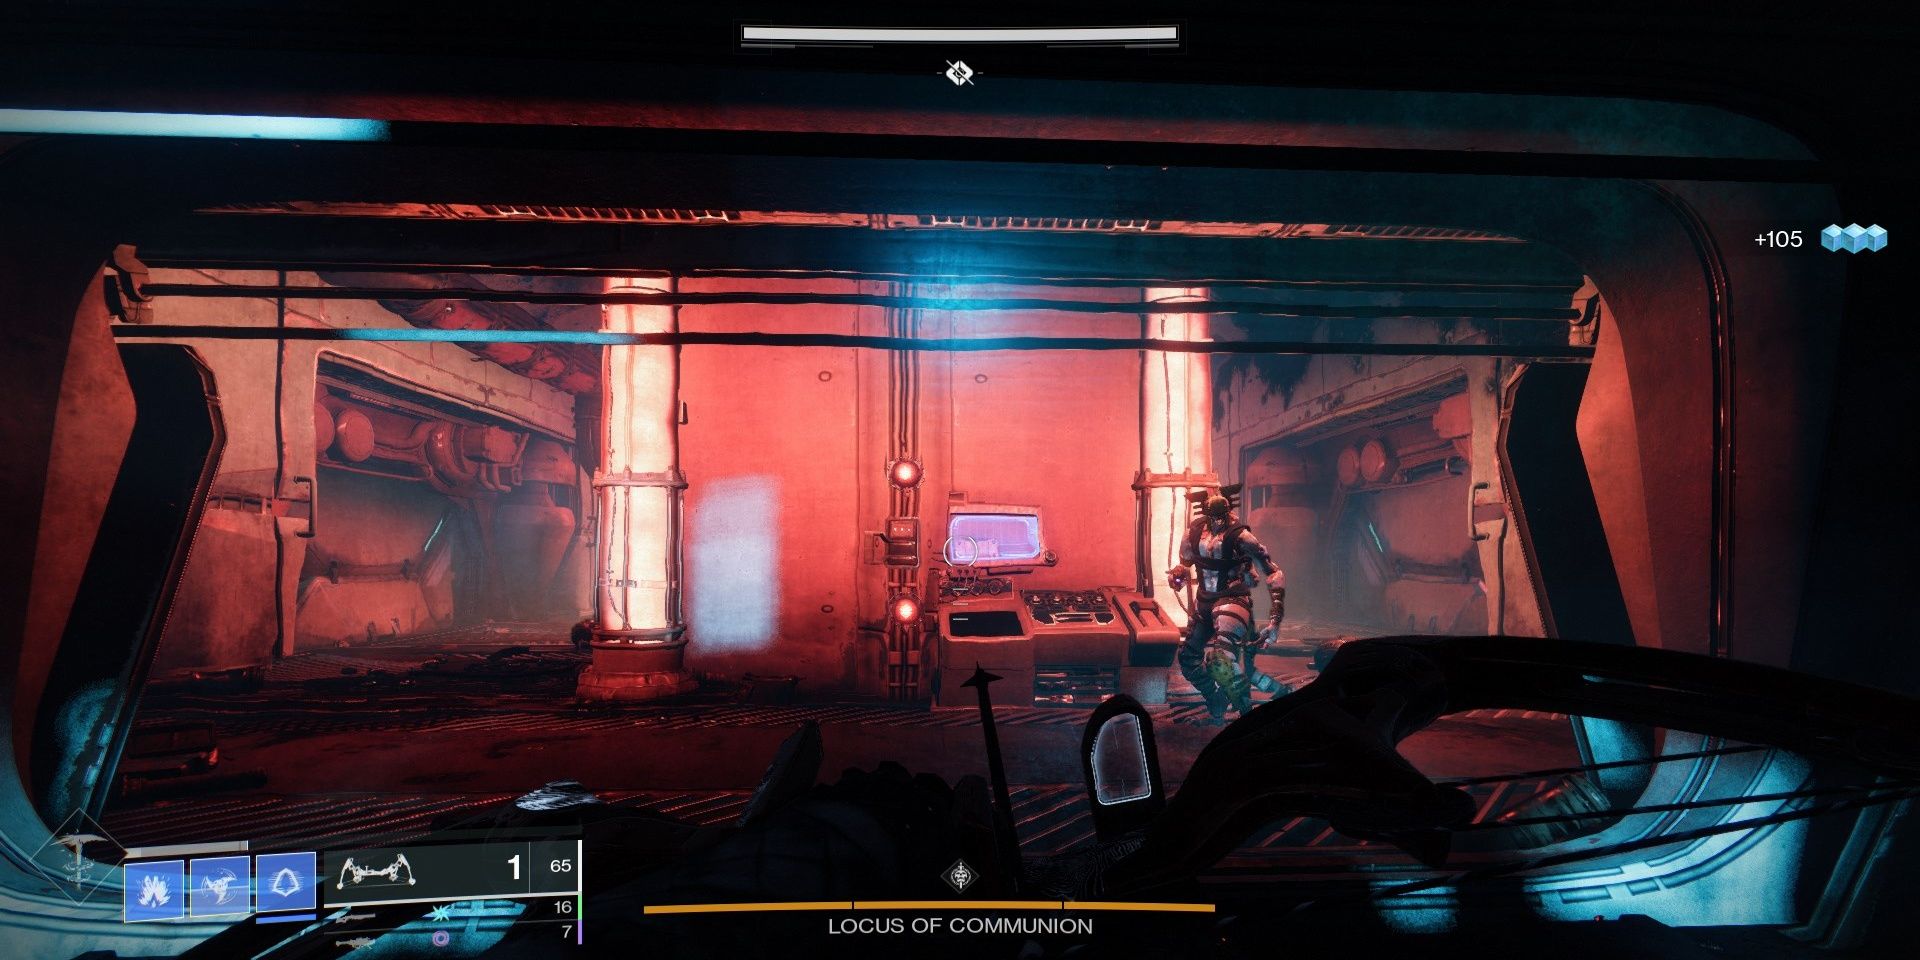
Locus Of Communion Boss Fight
Boss Encounter Enemies:
- Locus of Communion
- Chieftans
- Stalkers
- Chieftans
- Lurkers
- Screebs
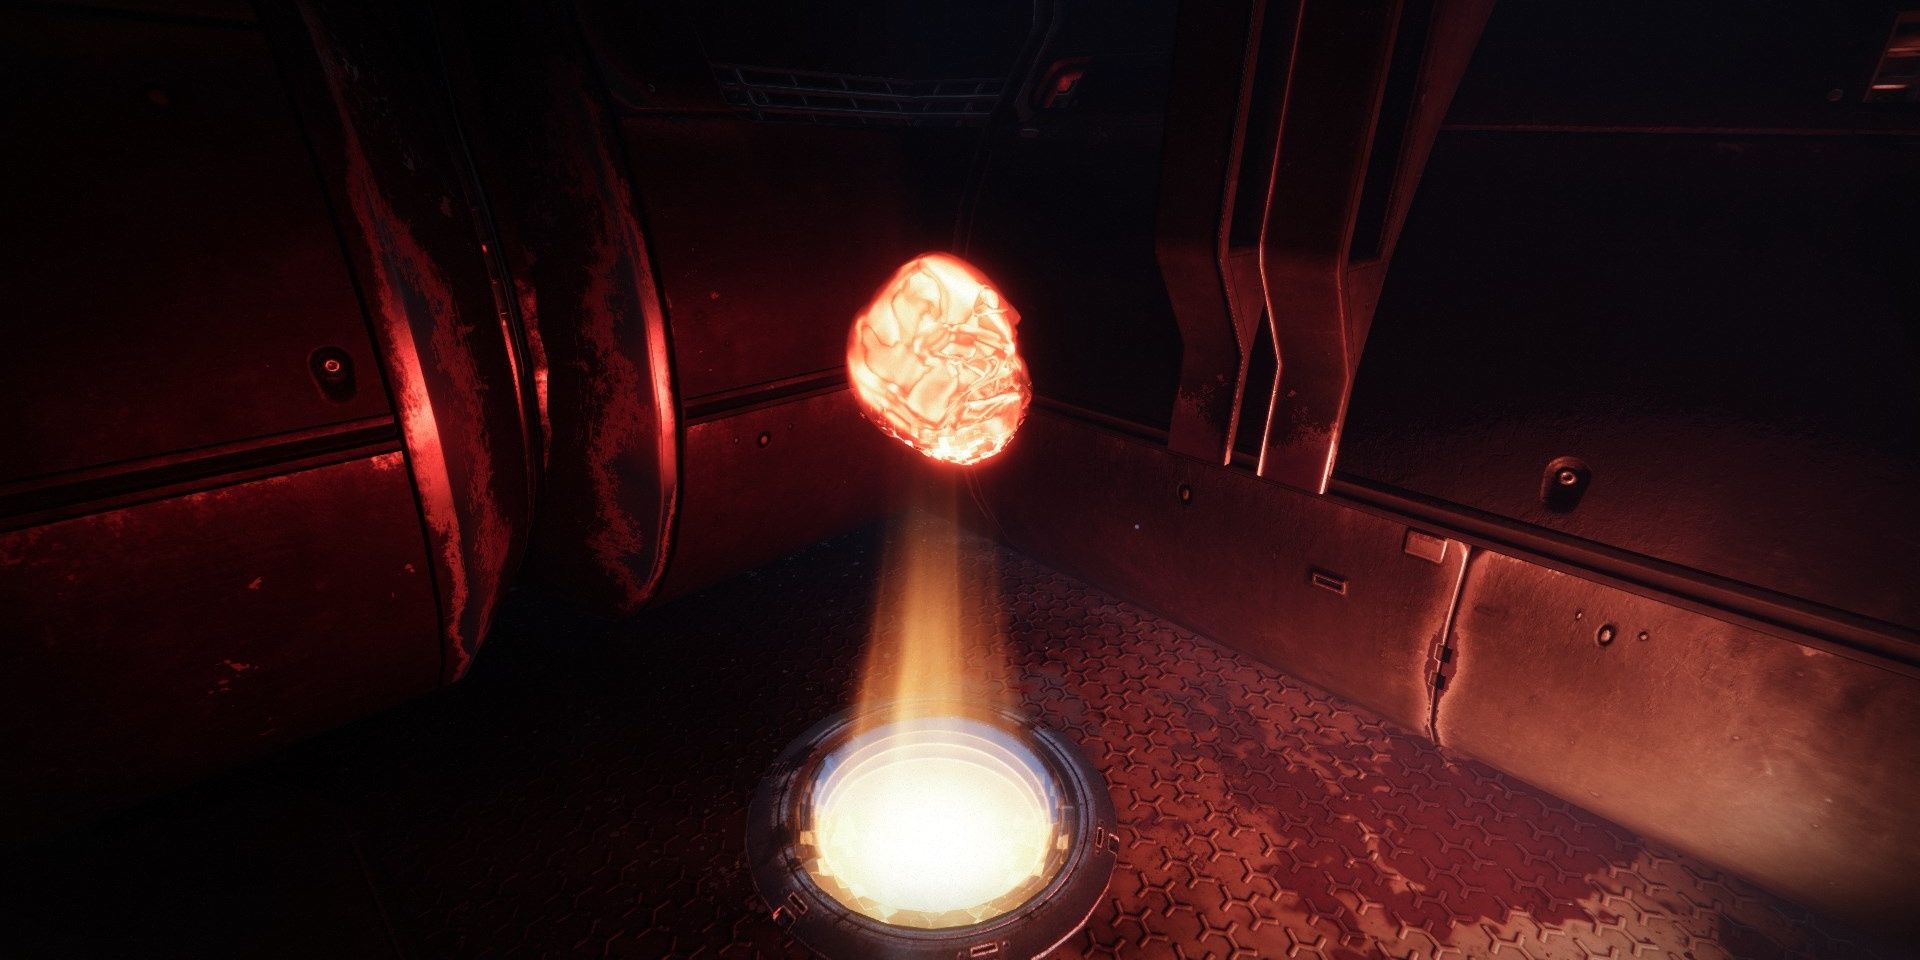
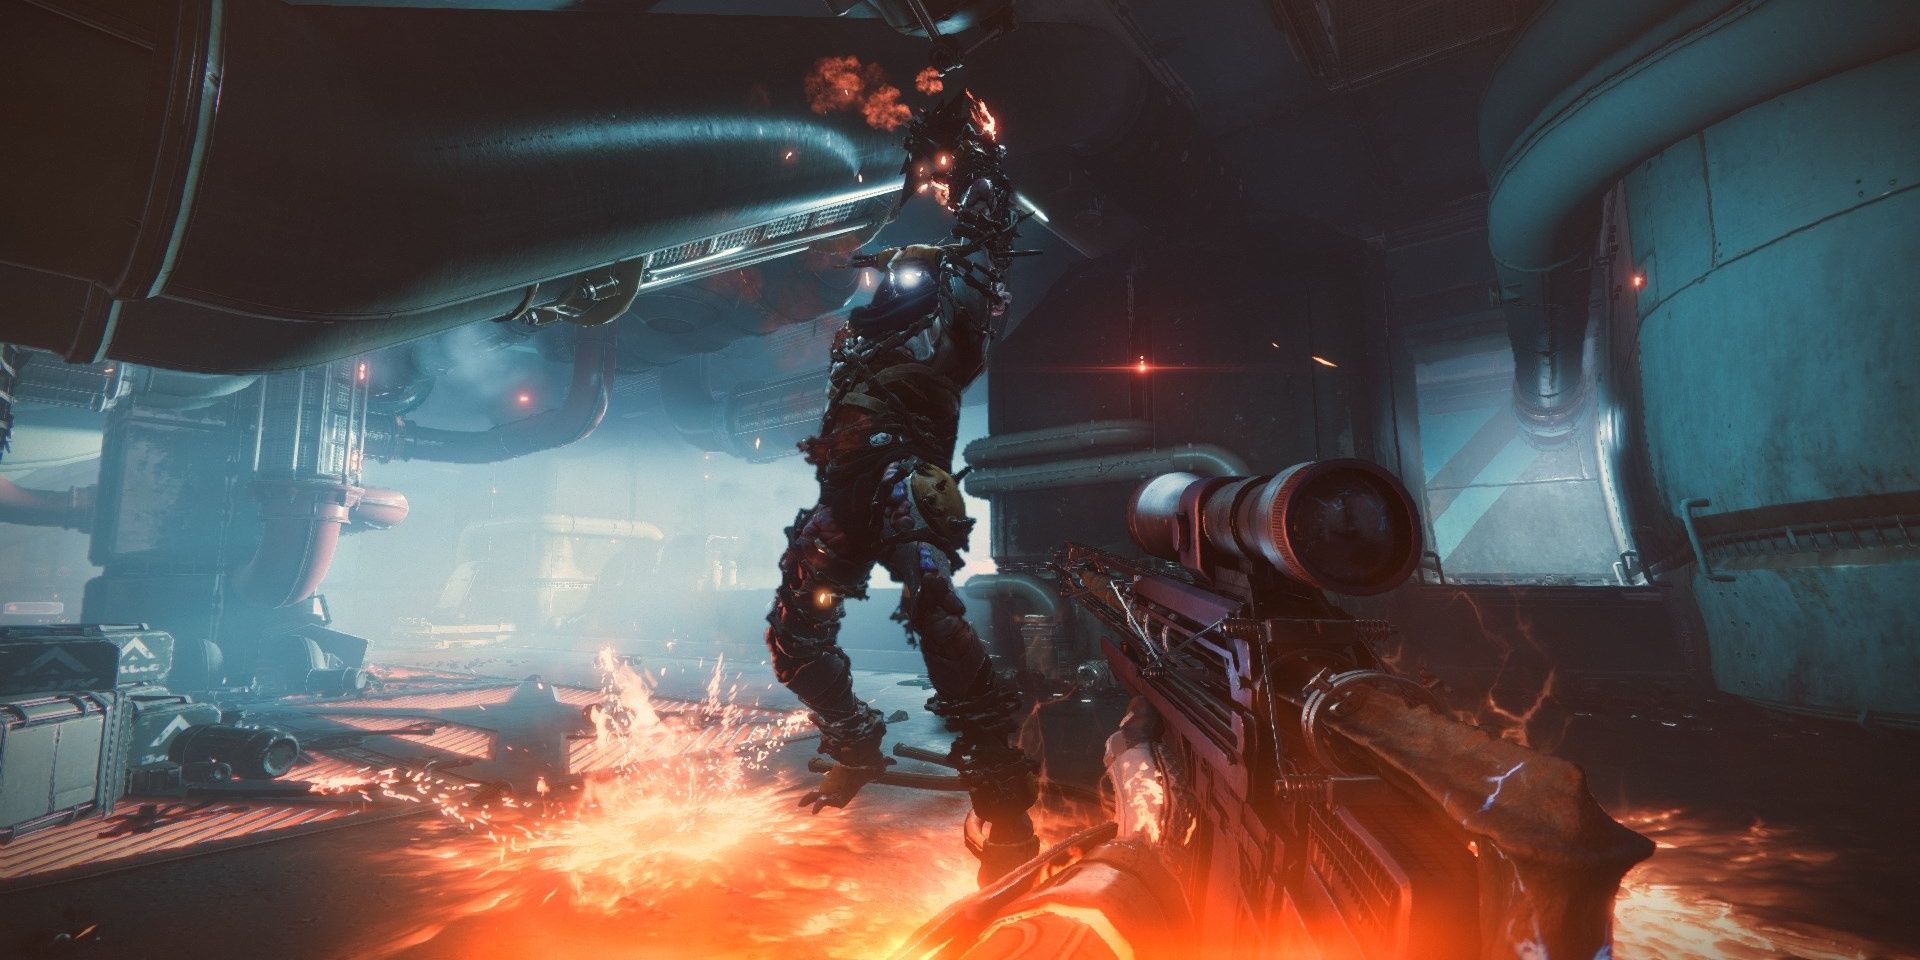
The Locus of Communion is the same as Forsaken's Hangman boss. For those unfamiliar, this is a boss Ravager enemy that erects pillars of flame with his massive censer.
At the start of the encounter, the boss will spawn and rush you. A few shots will cause him to disappear, fleeing to the furnace below you. Waves of Scorn will also spawn. They hit rather hard, so consider using your Super to stay alive.
Since the boss is in a furnace, standing in it will kill you. There are three panels you must activate to disable the furnace, allowing you to damage the boss without risk of burning alive:
Panel #1
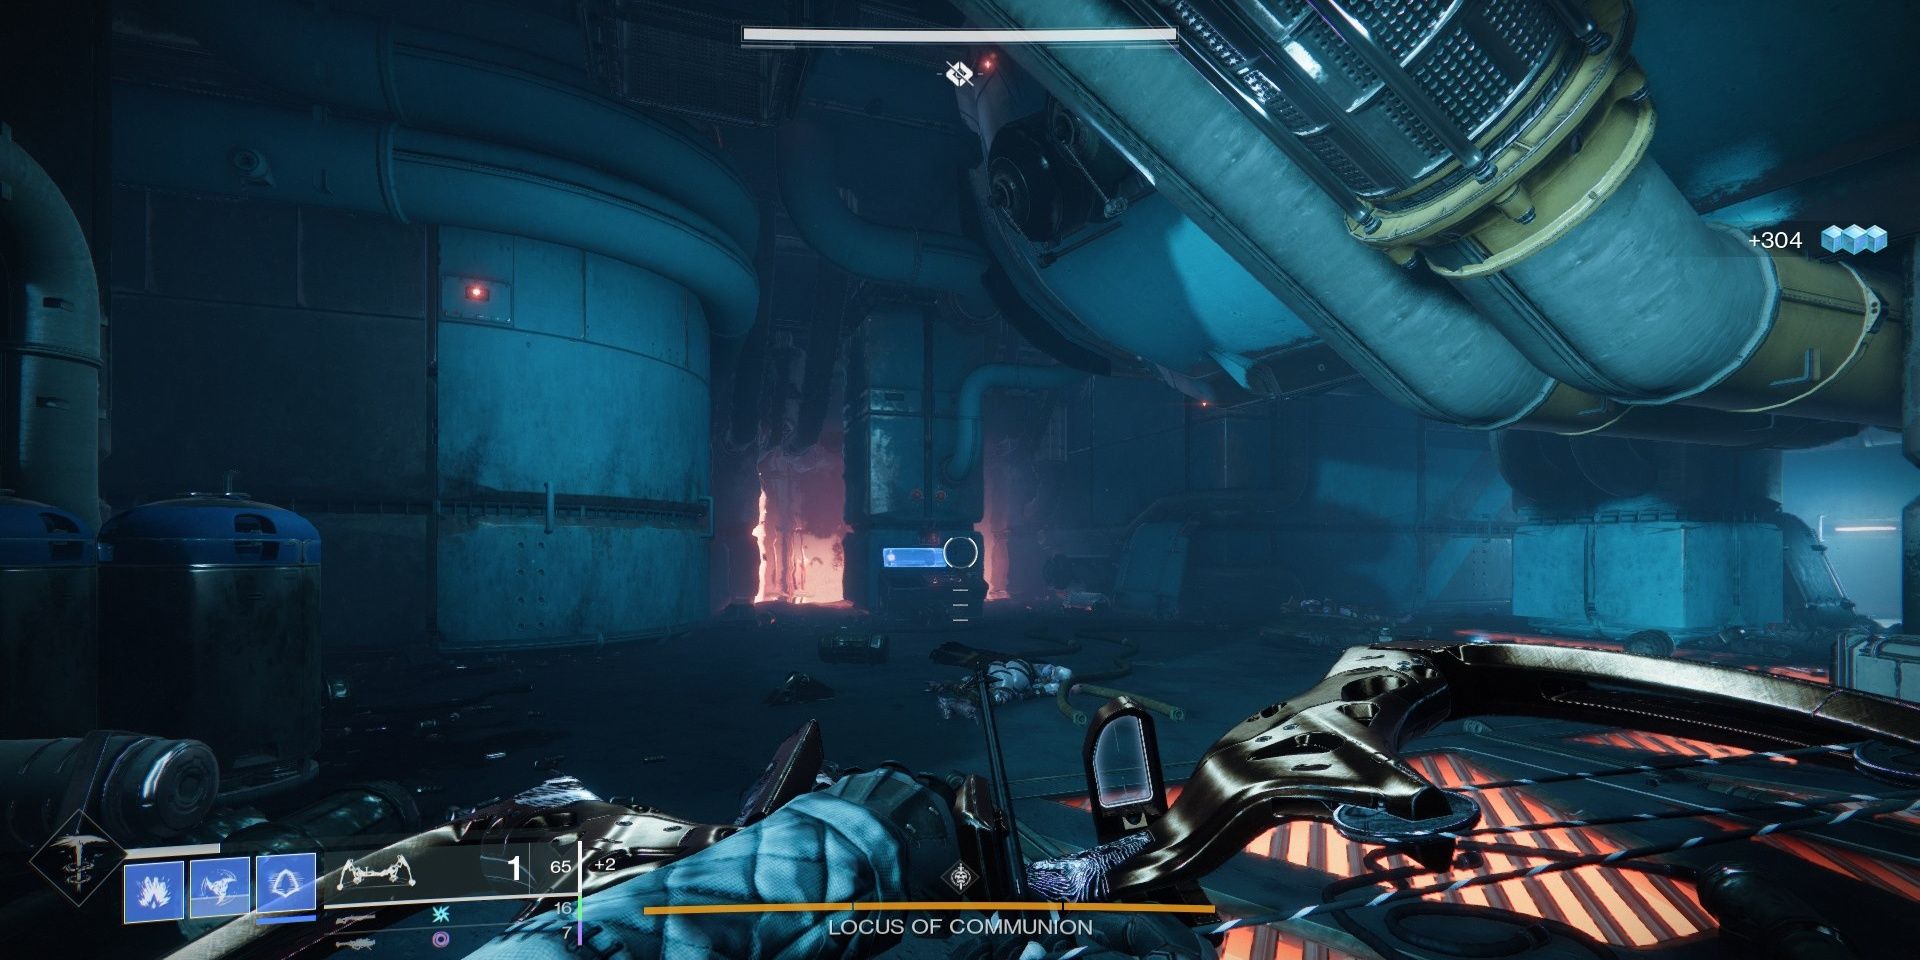
Panel #2
Note: this particular room deals constant damage to you. Consider activating this panel last.
Panel #3
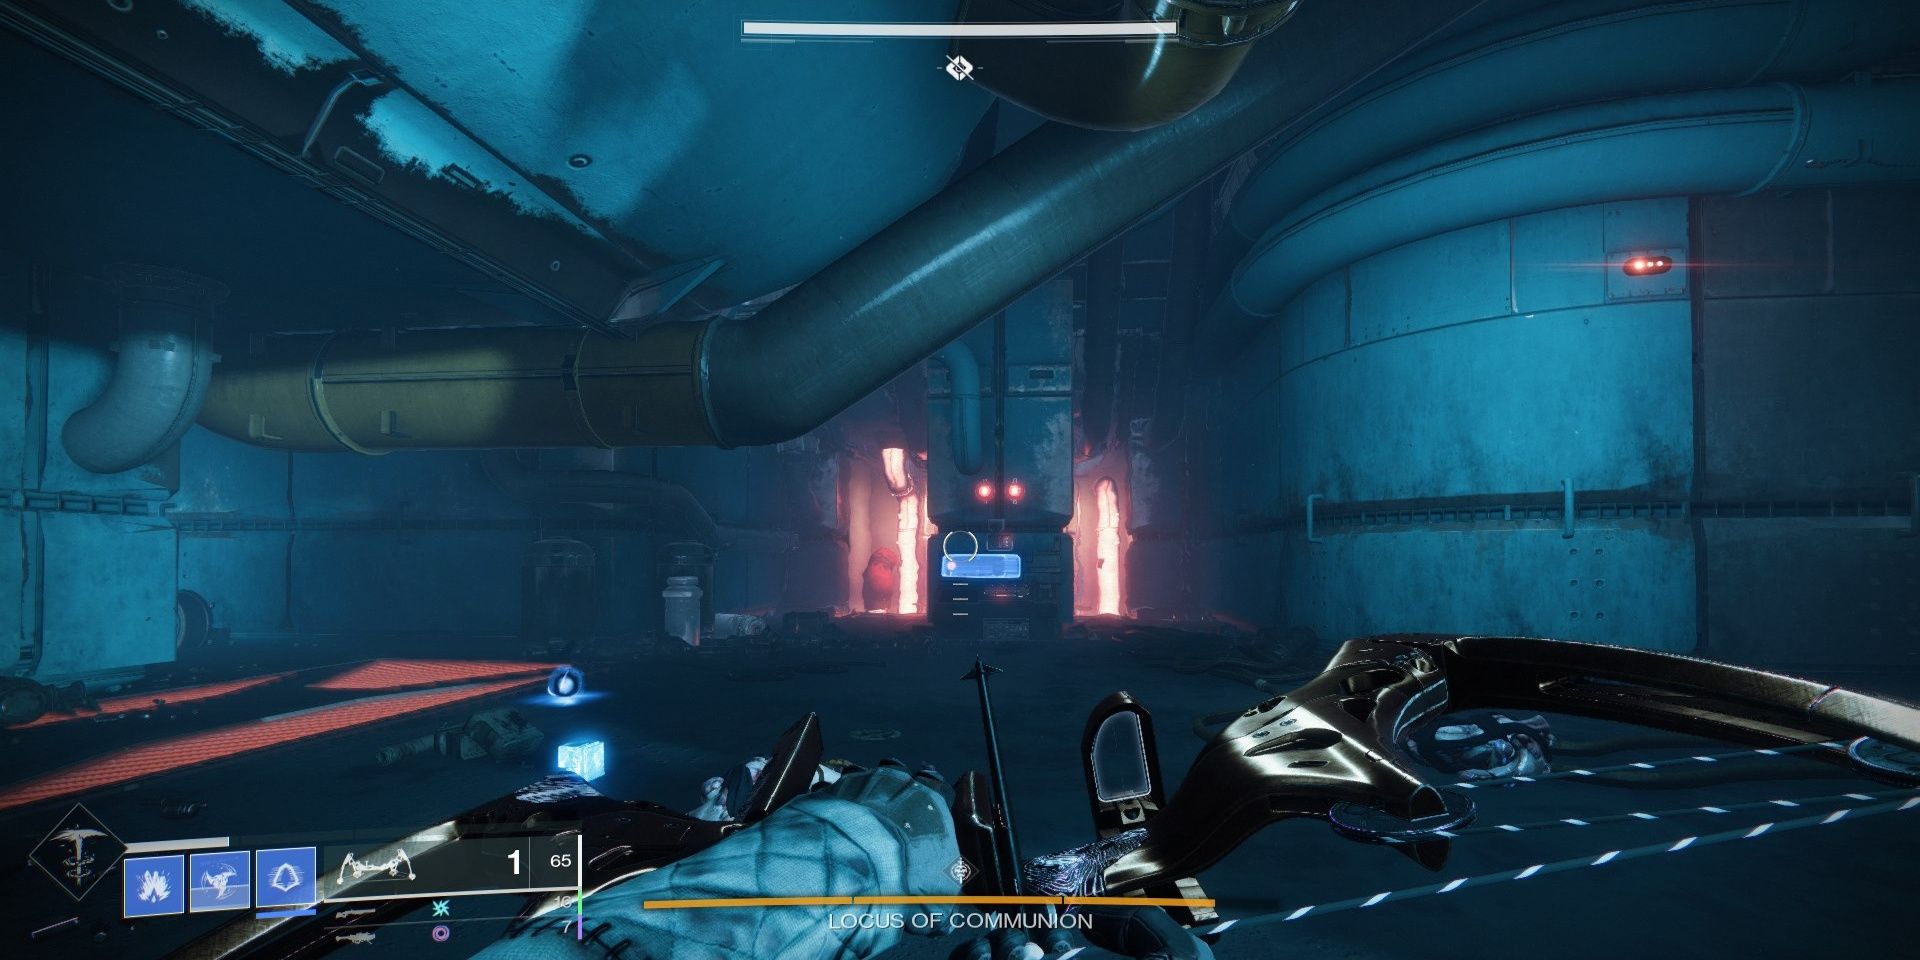
They can be activated in any order, although it is recommended to activate the second one last. This particular panel burns you while you're in the room, so be quick to activate it. Each panel will display a message stating, "Coolant Flush [number] Initiated." With all three panels activated, run to any end of the room to drop down into the furnace.
The Locus of Communion is an aggressive boss, charging you ruthlessly while failing his censer around. Use Stasis or any crowd-control abilities to slow him down. Try to stay at a distance during this part, using Heavy weapons to deal damage to him. Anarchy and Witherhoard are great here. Alternatively, you can go completely on the offensive and barrel-stuff him with a Shotgun. The Fourth Horseman is fantastic against this boss if you can close the gap.
After the Locus takes a small bit of damage, he'll spawn a wave of Scorn. Focus on the Chieftans first, then kill the rest. Note that these enemies do not despawn, even after you complete a damage phase. Damage the boss until he loses a chunk of health (around 33% per bar). This will reignite the furnace, displaying a message stating "Boiler Room Temperature Critical." You have around five seconds to reach the upper floor before you start taking damage.
Run up to the surface, kill the Scorn adds above, then repeat what you just did. Do this three times to kill the boss. Once the boss is defeated, follow the waypoint on your HUD to retrieve the Dead Man's Tale.
Return to Table of Contents
Collectibles: After Boss Fight
After you defeat the Locus of Communion, there are two collectibles to find. One is in the air vent leading to Dead Man's Tale, and the second is found right as you drop down to the final room.
Set 1: Collectible Clue #5

After you kill the boss, drop down to the linear corridor at the end of the room. Instead of progressing onward, turn around and jump over the chest-high wall. A projection of Calus will be in the corner that you can scan.
Set 2: Collectible Clue #6

The sixth collectible for set two can be found in the last room. When you drop down to meet the ill-fated Guardian, drop down the bridge you land on and turn around. You'll find a lump of gold that has a chalice laying on top of the gold. Scan the chalice.
Return to Table of Contents
Source: https://www.thegamer.com/destiny-2-presage-exotic-mission-guide/
0 Response to "End the Arms Dealer Easy Walk Through Glitch"
Post a Comment